10 DIY projects you can finish in a weekend
Realistic projects for beginners and improvers, with the tools, rough timing, and the points where each one tends to go wrong. No demolition required.
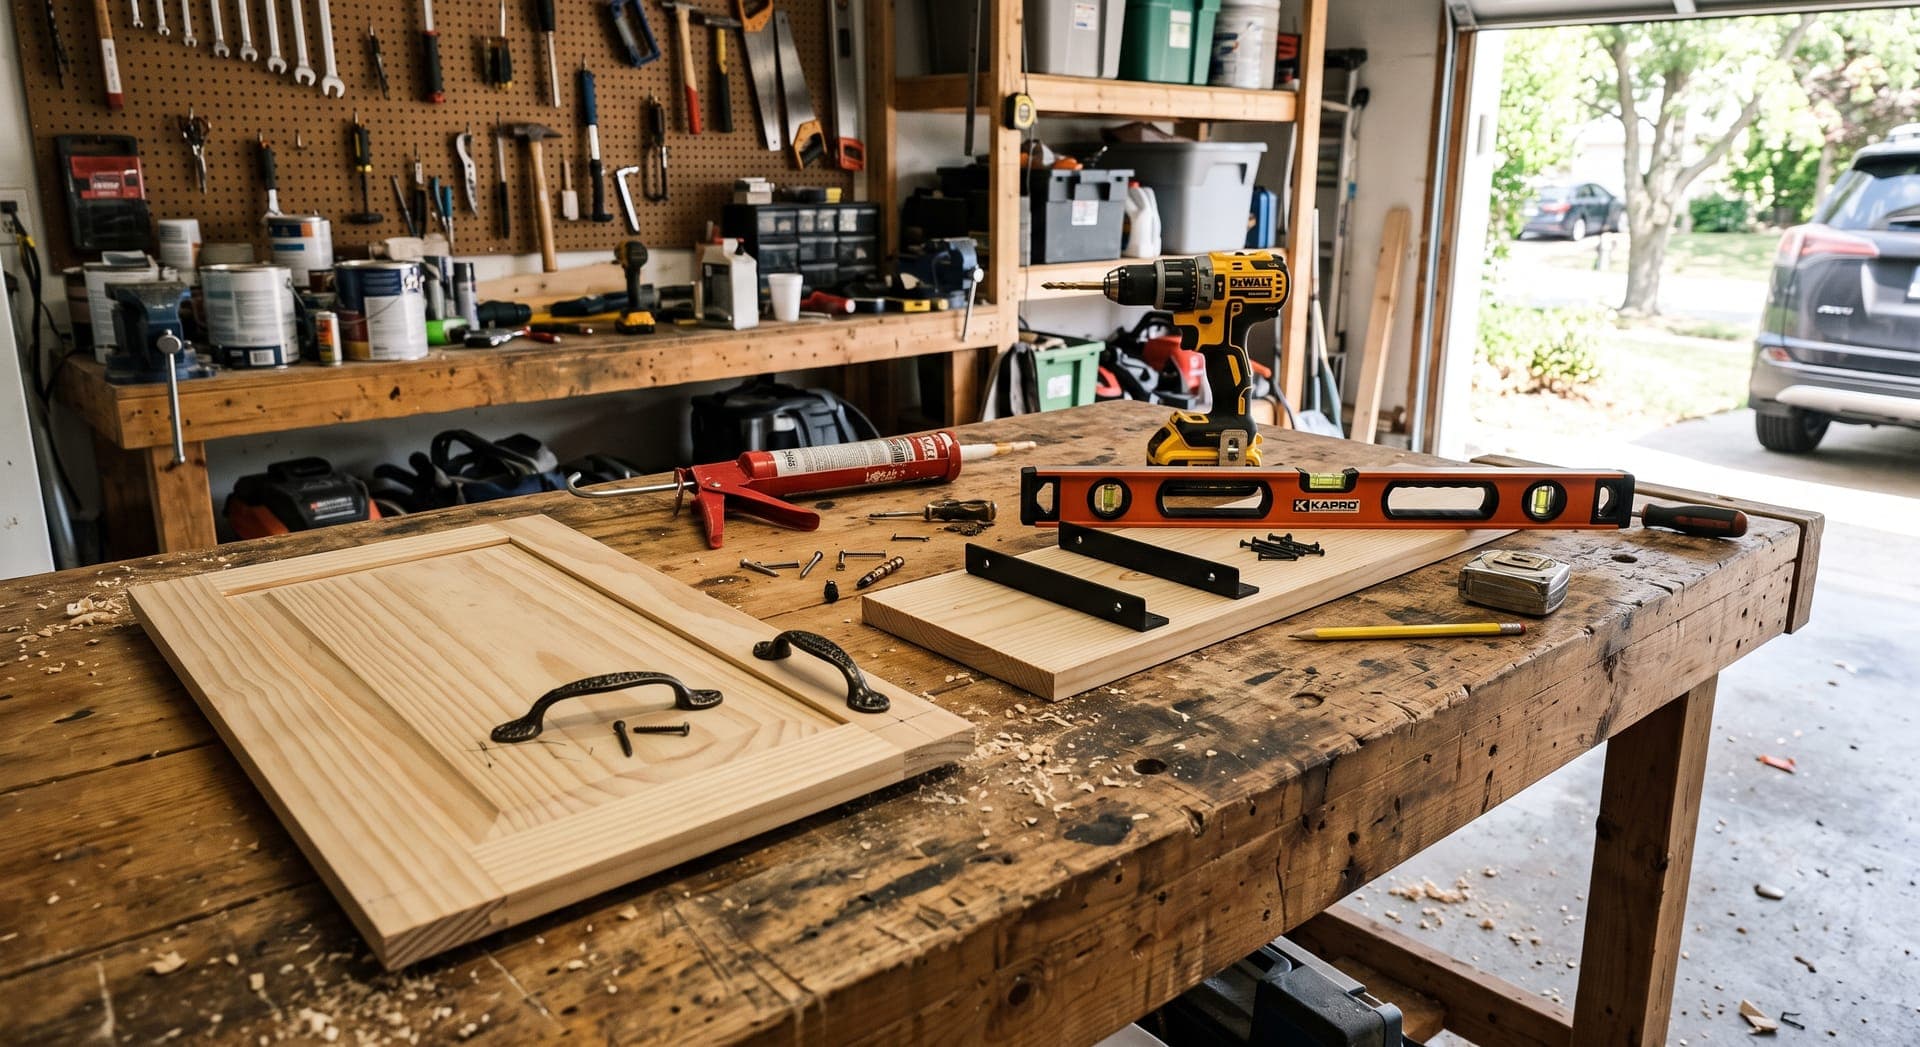
The projects below each fit into a weekend for someone with basic tools and a little patience. None involves demolition, structural work, wiring, or gas. They are chosen because the result is visible and useful, and because each one teaches a skill you will use again: measuring and leveling, caulking, filling, painting, or drilling into a wall.
The timings are rough and assume you work at a careful, unhurried pace. Many projects include drying or curing time, which is why a weekend suits them: do the work on Saturday and finish on Sunday.
Before you choose a project
- Read through all the steps and gather everything you need first. A mid-project trip to the hardware store is the most common reason a weekend project runs into the next week.
- Check the drying and curing times on the products you buy, and plan around them.
- Renters should check with their landlord before anything that involves drilling, painting, or replacing fixtures.
- The guide to tools every beginner should own covers the kit these projects use.
1. Recaulk a bathtub or shower
Rough time: a few hours of work, then a day of curing. Skill: beginner.
Moldy or cracked caulk lets water get behind tiles and into walls. Replacing it makes a bathroom look cleaner straight away.
- Cut and pull out the old caulk with a utility knife or a plastic caulk removal tool. Scrape off what remains.
- Clean the joint with rubbing alcohol or a cleaner the caulk manufacturer recommends, and let it dry completely. Overnight is best, with the fan running.
- Run painter's tape along both sides of the joint, leaving a gap the width you want the bead to be.
- Cut the caulk nozzle at an angle, with a small opening. Apply a steady bead of 100 percent silicone bathroom caulk labeled mold resistant.
- Smooth the bead with a caulk tool or a fingertip dipped in soapy water, then pull the tape off straight away, before the caulk skins over.
- Leave the tub or shower unused for the full cure time on the tube.
Where it goes wrong: caulking over old caulk or a damp joint. New caulk will not stick to either.
2. Refresh tile grout
Rough time: a day. Skill: beginner.
- Scrub grout lines with a grout brush and a cleaner suitable for your tile. Rinse and let dry.
- Scrape out any cracked or crumbling grout with a grout saw, without chipping the tile edges.
- Press fresh grout into those joints with a rubber float, held at an angle. Wipe the tile with a damp sponge, rinsing it often, once the grout has firmed slightly.
- After the grout has cured, as its package states, apply a grout sealer with a small brush or applicator.
Where it goes wrong: leaving grout haze on the tile. Wipe it off with a barely damp sponge before it hardens, and buff any remaining film with a dry cloth.
3. Put up wall shelves
Rough time: two to four hours. Skill: beginner to intermediate.
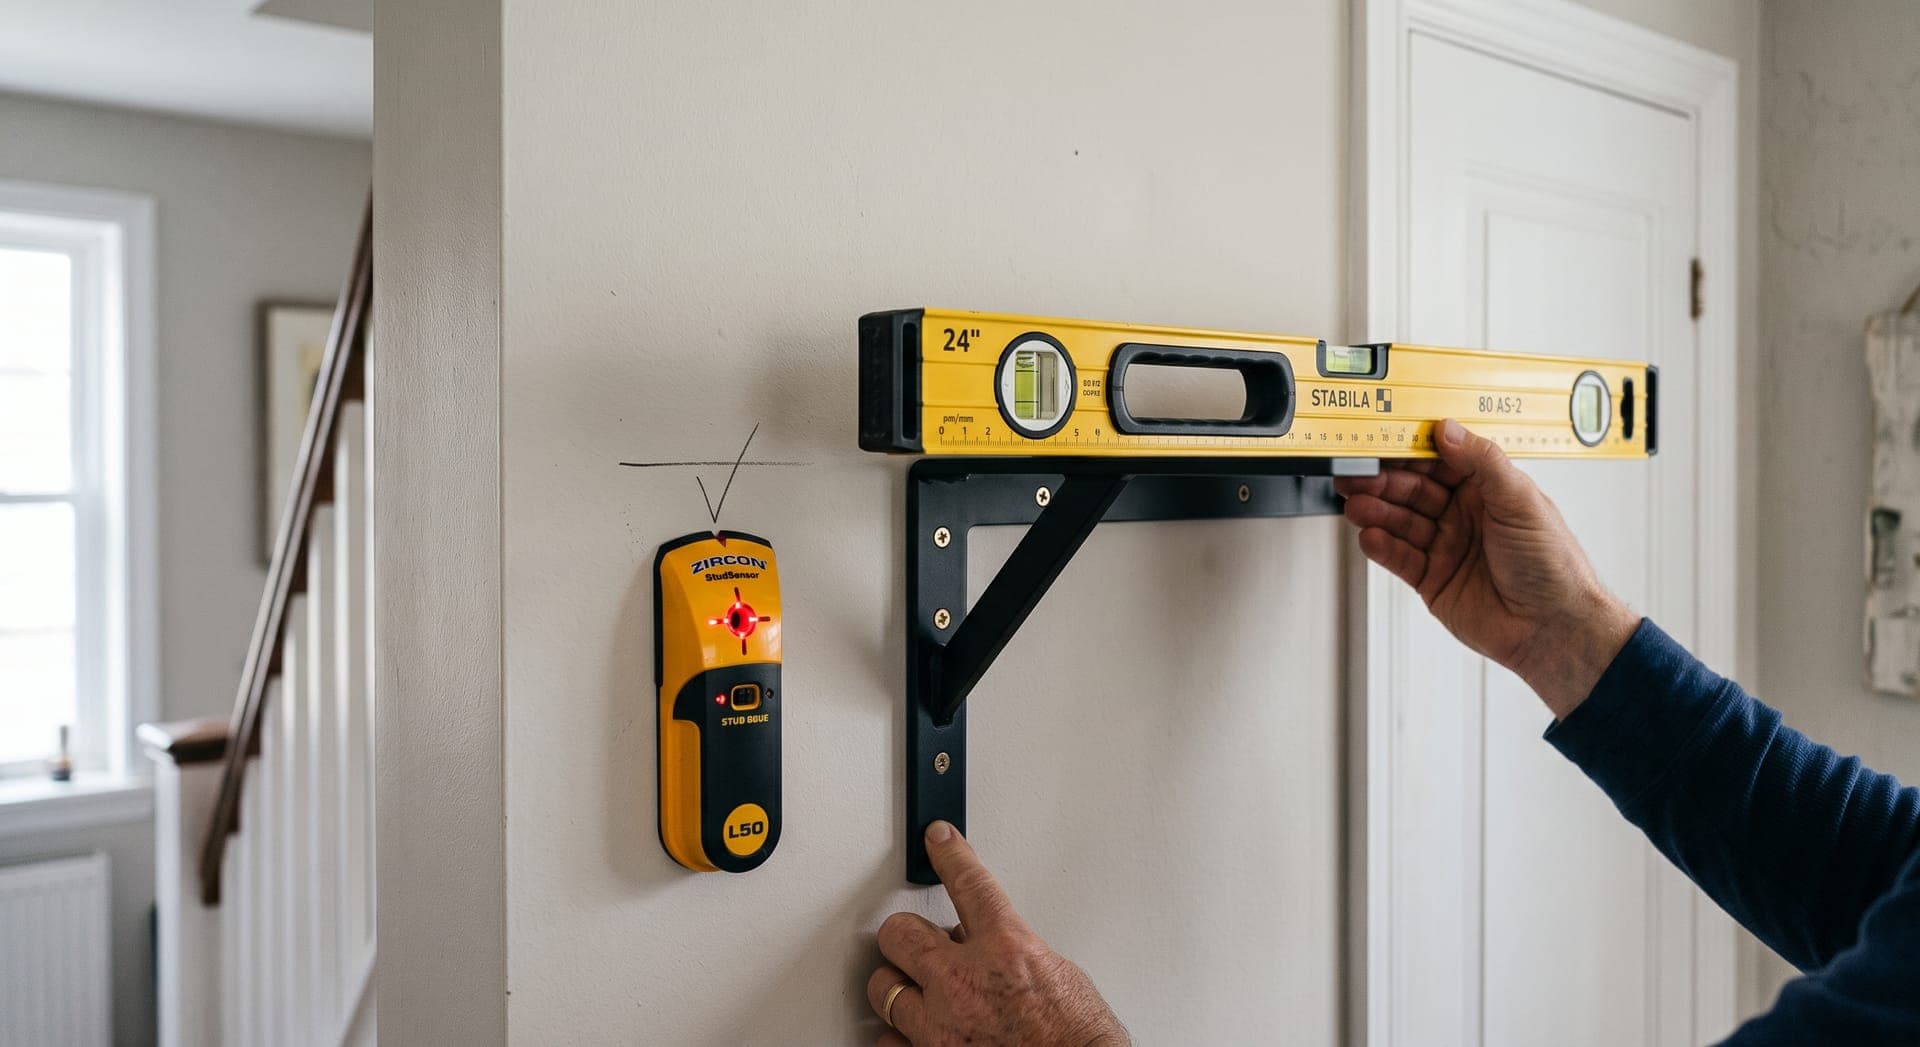
- Decide on the shelf height and mark it lightly in pencil. Use a stud finder to locate studs along that line.
- Hold the first bracket in place, check it with a level, and mark the screw holes.
- Drill pilot holes and screw the bracket into a stud. Where there is no stud, use wall anchors rated for the weight.
- Rest the shelf on the first bracket, set the level on top, and mark the position of the second bracket.
- Fix the second bracket, then screw the shelf to the brackets.
Where it goes wrong: anchors that are too light for the load. Check the rating, and remember that a full bookshelf weighs far more than an empty one. Before drilling, think about where pipes and cables run; they usually go straight up, down, or across from outlets and switches.
4. Replace cabinet handles and knobs
Rough time: two hours for a small kitchen. Skill: beginner.
Measure the distance between the centers of the two screw holes on your existing pulls and buy new ones with the same spacing. Unscrew the old handles from inside the doors, clean the area, and fit the new ones. If you change to a different spacing, fill the old holes, make a template from cardboard so every new hole lines up, and drill from the front with a scrap of wood clamped behind to stop splintering.
Where it goes wrong: screws that are too long or too short. Take one door's thickness into account and buy matching screws if needed.
5. Paint an interior door
Rough time: a day, with drying time between coats. Skill: beginner.
- Take the door off its hinges by tapping out the pins, and lay it across two sawhorses or sturdy supports.
- Remove the handle and hardware. Fill dents, sand the surface lightly, and wipe it clean.
- Prime if the door is glossy, bare wood, or a very different color.
- On a paneled door, paint the panels first, then the horizontal rails, then the vertical stiles, finishing each section with strokes in the direction of the wood grain.
- Let it dry fully, then paint the other side and the edges, and apply a second coat.
Where it goes wrong: rehanging the door before the paint has hardened, so it sticks to the frame. The guide to painting a room properly covers paint choice and technique.
6. Repaint one room
Rough time: a weekend. Skill: beginner.
Spend Saturday preparing the walls and cutting in, and Sunday rolling the second coat. A painted room changes more for the money than almost any other project. Follow the full steps in the painting guide, and fill holes first with the method in fixing small holes and cracks.
7. Hang curtain rods properly
Rough time: one to two hours per window. Skill: beginner.
Mount the brackets several inches above the window frame and well past each side, so the curtains clear the glass when open. Use a level and measure from the ceiling or the window frame, whichever is truly level, and screw into studs or the header above the window where you can. Use anchors rated for the weight elsewhere, and add a center support bracket on long rods.
Where it goes wrong: measuring from a floor or ceiling that is not level. Check with the level before you mark.
8. Fit a peel-and-stick backsplash
Rough time: an afternoon. Skill: beginner.
Peel-and-stick tiles cover a plain or dated wall behind a counter, and many are removable, which suits renters. Clean the wall thoroughly and let it dry, plan the layout from the center out, and cut tiles with a sharp utility knife and a straightedge. Check the product's instructions about heat: many are not suitable directly behind a stove, or need a set clearance from it.
Where it goes wrong: sticking tiles onto greasy or textured walls, where they lift within weeks.
9. Draft-proof the doors
Rough time: two to three hours. Skill: beginner.
Replace worn weatherstripping around exterior doors, fit a door sweep along the bottom, and add a brush strip to a mail slot if you have one. Close the door on a sheet of paper at several points; if it slides out easily, the seal is not touching there. The guide to making your home more energy efficient lists other places to seal.
Where it goes wrong: weatherstripping so thick the door will not latch. Test-fit before removing the backing.
10. Repaint a piece of furniture
Rough time: a weekend, mostly drying time. Skill: beginner.
- Remove handles and drawers, clean the piece with a degreasing cleaner, and let it dry.
- Sand lightly to scuff the existing finish, and wipe off the dust.
- Apply a bonding primer suitable for the surface.
- Apply two thin coats of furniture or cabinet paint with a fine roller or brush, sanding very lightly between coats.
- Add a clear protective topcoat if the paint calls for one, and let it cure before use.
Where it goes wrong: thick coats that drip and stay tacky. Several thin coats look better and dry faster. If the piece is old and may have lead paint, test before sanding.
Projects to leave to professionals
Replacing light fixtures, adding outlets or switches, moving plumbing, removing walls, and anything involving gas lines are common "weekend" projects online. They involve risks of electric shock, fire, flooding, gas leaks, or structural damage, and often need permits and licensed trades. See when to DIY and when to call a professional for where the line usually sits.
Common mistakes
- Starting without reading the drying and curing times.
- Skipping surface preparation: cleaning, drying, sanding.
- Drilling without checking for studs, pipes, and cables.
- Taking on two projects at once and finishing neither.
Questions about weekend projects
Which project should a complete beginner start with?
Replacing cabinet handles or recaulking a tub. Both are forgiving, use few tools, and give an immediate result.
What if a project takes longer than a weekend?
That is common the first time. Leave it in a safe, usable state, such as caulk fully cured or a door rehung, and finish the next weekend.
Do I need to buy power tools?
Only a cordless drill/driver for the shelf, curtain rod, and handle projects. The others need hand tools.
Choose one and finish it
Pick the project that will make the most difference to the room you use most, buy everything on Friday, and finish it before starting another. For more ideas that need no tools at all, see simple DIY home improvements.
This guide is general information. Homes, materials, and local rules differ, so check product instructions and the regulations where you live. Read the full disclaimer.