How to paint a room properly
Most of a good paint job happens before you open the can: clearing, cleaning, filling, and masking. This guide covers the whole job, from preparation to cleanup.
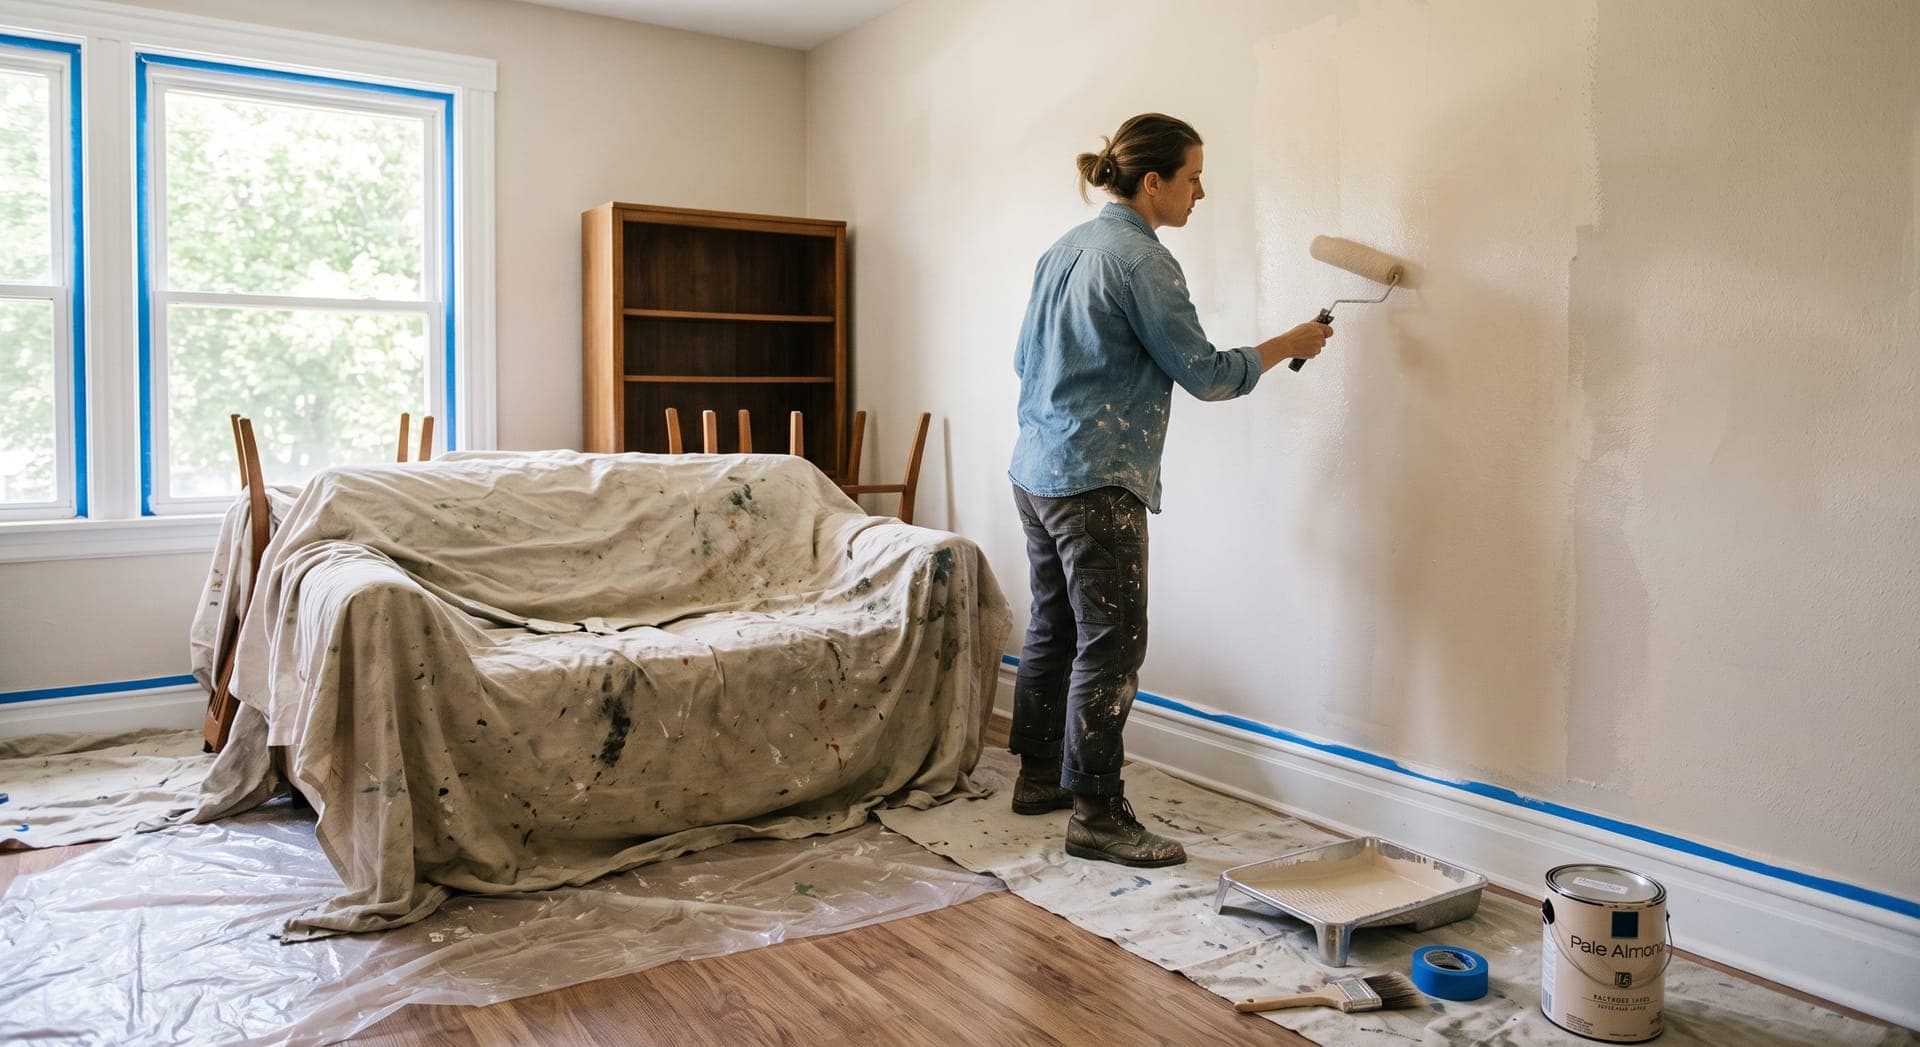
Painting a room is one of the most rewarding DIY jobs for a beginner, because the skills are simple and the result is obvious. The difference between a finish that looks professional and one that looks homemade is mostly preparation and patience: clean walls, filled holes, straight edges, and enough drying time between coats.
A typical bedroom takes a weekend: one day to prepare and cut in, and a second for rolling and the second coat. This guide covers the whole job in order.
Homes built before 1978: check for lead paint first
In the US, homes built before 1978 may have lead-based paint under newer layers. Sanding, scraping, or heat-stripping it creates dust that is harmful, especially to children and during pregnancy. Before sanding or scraping old paintwork, test it with an EPA-recognized lead test kit or have a certified inspector check it. If it contains lead, follow lead-safe work practices or hire a contractor certified for lead-safe renovation. Other countries have their own guidance and dates; check your local rules.
Choose the paint and work out how much you need
Most interior walls are painted with water-based (latex or acrylic) paint, which dries quickly, smells less, and cleans up with water. The finish, or sheen, affects how the wall looks and how easily you can clean it.
| Finish | Look | Typical use |
|---|---|---|
| Flat or matte | No shine, hides wall flaws well | Ceilings, low-traffic walls |
| Eggshell | Very slight sheen, wipeable | Living rooms, bedrooms, hallways |
| Satin | Soft sheen, more washable | Kitchens, bathrooms, children's rooms |
| Semi-gloss | Noticeable shine, very washable | Trim, doors, cabinets |
To estimate quantity, measure the length of each wall, add them together, and multiply by the ceiling height. Subtract roughly the area of doors and windows. The paint can lists how much area one can covers; divide your wall area by that number and double it for two coats. Buy enough of the same batch for the whole room. If you end up with several cans, pour them together into a large bucket and stir, so the color is consistent from wall to wall.
Gather tools and materials
- A roller frame, two roller covers, a paint tray, and an extension pole. A 3/8-inch nap suits smooth walls; a 1/2-inch nap holds more paint for lightly textured walls.
- A 2- to 2.5-inch angled brush for cutting in.
- Painter's tape and drop cloths. Canvas cloths stay put and are less slippery than plastic sheeting.
- Filler or spackle, a putty knife, and a fine sanding sponge.
- A bucket, a mild detergent or wall cleaner, and sponges.
- A stepladder, a screwdriver, stir sticks, rags, and a damp cloth for drips.
- Primer, if any of the situations in the priming section apply.
Good brushes and rollers make the job noticeably easier. The guide to tools for beginners explains which basics are worth owning.
Prepare the room
- Move furniture to the middle of the room or out of it, and cover it with drop cloths. Cover the whole floor along the walls.
- Take down pictures, curtains, and rods. Unscrew the cover plates from switches and outlets and put the screws in a bag. Leave the switches and outlets themselves alone.
- Wash the walls with a sponge and mild detergent, especially in kitchens and around light switches, where grease and fingerprints stop paint from sticking. Rinse with clean water and let the walls dry.
- Fill nail holes, dents, and cracks. Let the filler dry, sand it flush, and wipe away the dust. The guide to fixing holes and cracks covers this in detail.
- Lightly sand glossy surfaces, such as old semi-gloss trim, so the new paint has something to grip.
- Vacuum or wipe the baseboards and the tops of door frames.
- Apply painter's tape along trim, window frames, and the ceiling line if you are not painting the ceiling. Press the edge down firmly with a putty knife so paint cannot bleed under it.
Open the windows for ventilation and keep the room within the temperature range on the paint can.
Decide whether you need primer
Many wall paints are sold as "paint and primer", which works well over sound, clean, previously painted walls in a similar color. Use a separate primer when:
- You are painting new drywall or bare plaster, which soaks up paint unevenly.
- You have filled large areas. Spot-prime patches so they do not show as dull spots.
- There are water stains, smoke marks, or marker. Use a stain-blocking primer.
- You are going from a dark color to a light one, or the reverse.
- You are painting over glossy or oil-based paint. Sand it and use a bonding primer.
Paint in the right order
Work from the top down so drips land on surfaces you have not painted yet: ceiling first, then walls, then trim and doors. Some people paint trim first and tape it off before the walls; either order works if you are consistent.
Cut in the edges
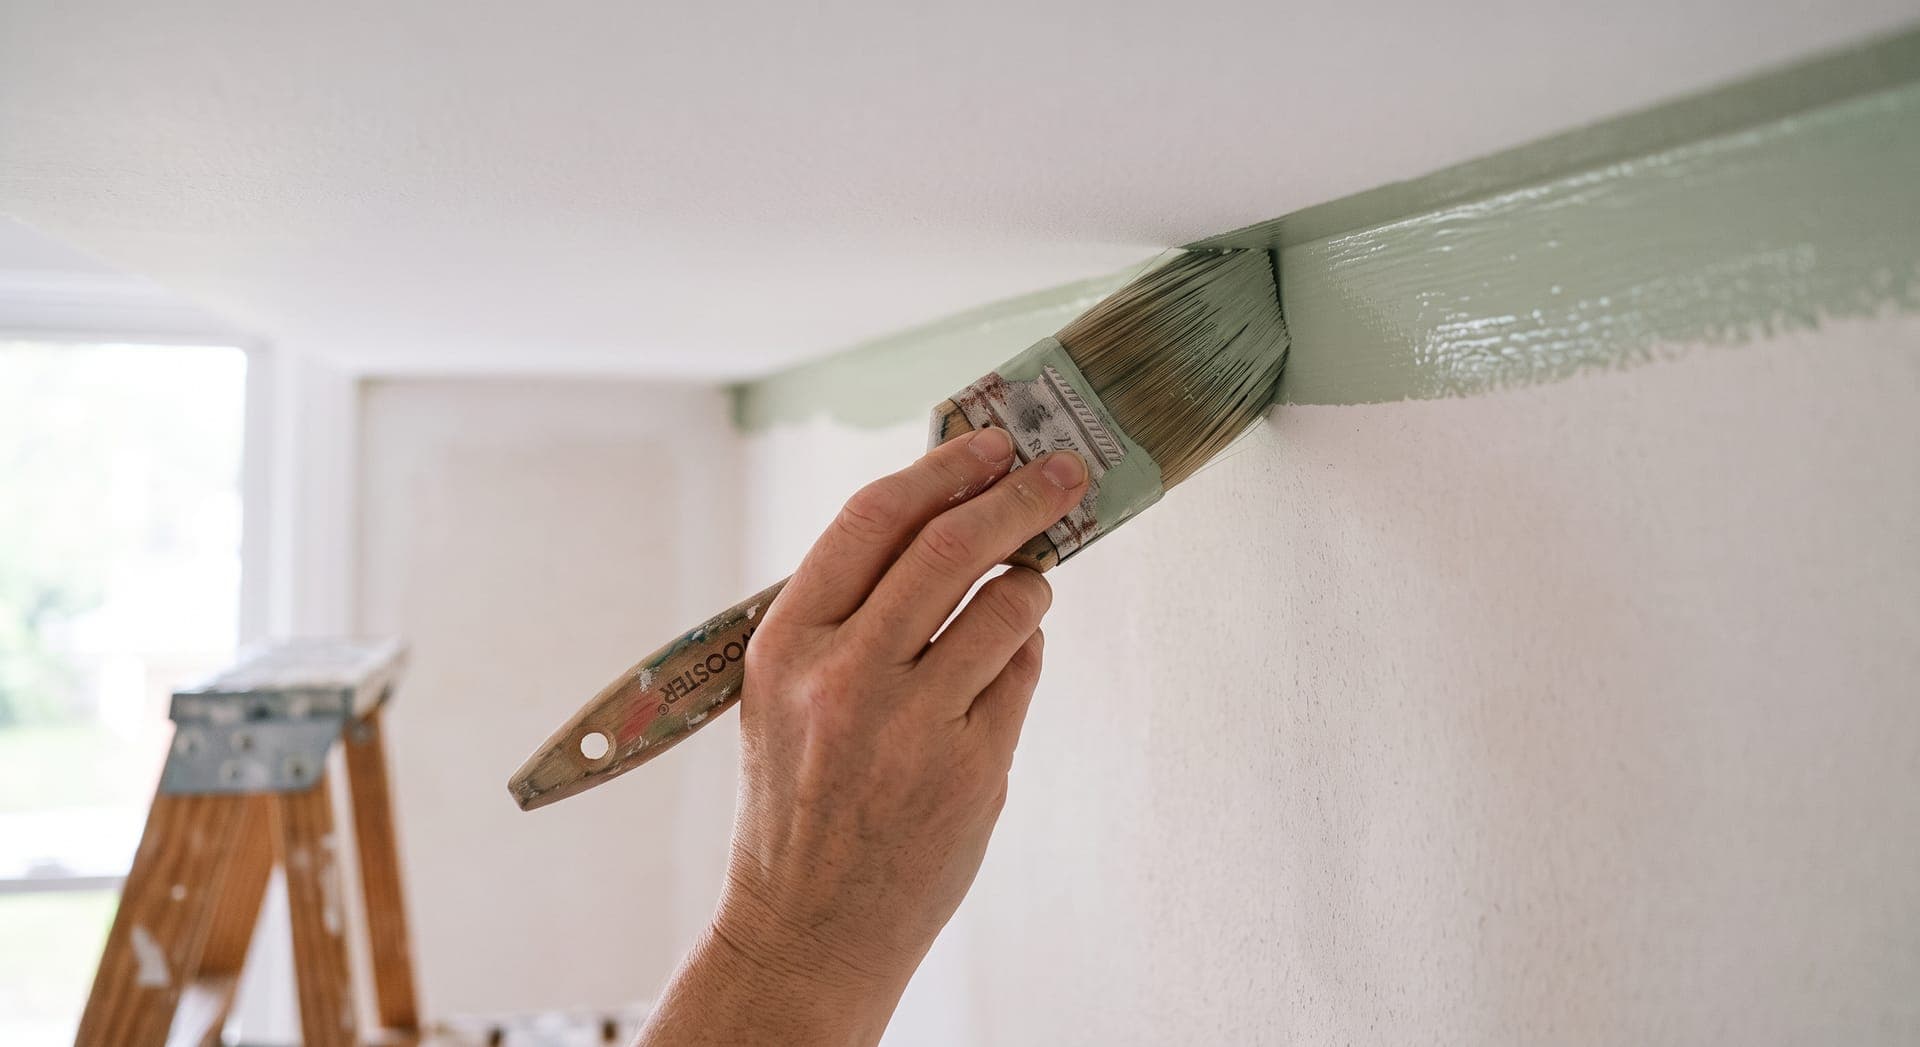
Cutting in means painting a band about 2 to 3 inches wide along every edge the roller cannot reach: corners, the ceiling line, around trim, windows, outlets, and switches.
- Dip the brush about a third of the way into the paint and tap off the excess against the inside of the can.
- Hold the brush like a pencil, with the angled tip pointing into the edge.
- Start a little way from the edge, then slide the brush toward it in a long, steady stroke.
Cut in one wall at a time and roll it straight afterward. Rolling while the cut-in band is still wet blends the two and avoids a visible frame around the wall.
Roll the walls
- Pour paint into the deep end of the tray. Roll the roller into it, then back and forth on the ridged part until it is evenly loaded but not dripping.
- Start about a foot from a corner. Roll a large W or M shape about 3 feet square.
- Fill in the shape without lifting the roller, working back toward the corner.
- Finish the section with light, straight strokes from ceiling to floor.
- Move to the next section, overlapping slightly into the wet edge of the last.
Keep a wet edge, meaning you always roll into paint that has not dried yet. Stopping halfway across a wall and coming back later leaves lap marks.
Apply the second coat
Wait for the recoat time listed on the can. For most water-based wall paints that is a few hours, but cool or humid rooms take longer. Then repeat the cutting in and rolling. The second coat is what gives an even color, so do not skip it unless the paint label says one coat is enough over your color.
Remove the tape and clean up
Pull the tape when the final coat is dry to the touch but before it fully hardens, usually within a day. Pull it slowly back on itself at a low angle. If paint starts to lift with the tape, score along the edge with a utility knife first.
- Wash brushes and rollers used with water-based paint in warm, soapy water until the water runs clear. Hang brushes or lay them flat to dry.
- Never pour paint down a sink or storm drain. Let small amounts dry out in the tray and dispose of them as your local waste rules require. Many areas have collection points for leftover paint.
- Seal leftover paint tightly, label the lid with the room and date, and store it somewhere that does not freeze, for touch-ups later.
- Wait until the paint has hardened before putting furniture back against walls. The can lists the cure time.
Common painting mistakes
- Skipping wall cleaning. Paint peels from greasy surfaces.
- Overloading the roller, which causes drips and an orange-peel texture.
- Pressing too hard on the roller, which leaves ridges at its edges.
- Going back over areas that have started to dry, which pulls the paint and leaves marks.
- Painting in direct sun or a cold room, which affects how the paint dries.
- Not stirring the paint, or mixing cans of different batches without combining them first.
Questions about painting a room
Do I really need two coats?
Usually, yes. One coat often looks even when wet and patchy once dry, especially with a color change. Two coats give a uniform color and a more durable surface.
Should I paint the ceiling?
If the ceiling is stained or yellowed, painting it makes the whole room look cleaner. Use a flat ceiling paint and do it first.
How long until I can use the room?
You can usually sleep in a well-ventilated room the next day with water-based paint, but check the can. Wait for the full cure time before cleaning walls or pushing furniture against them.
Plan two days and prepare properly
Spend the first day preparing: clear, clean, fill, sand, and tape. Use the second day for the coats. Most beginner problems come from rushing the preparation. Once the walls are done, small changes such as new handles and lamps finish the room; see simple DIY improvements for ideas.
This guide is general information. Homes, materials, and local rules differ, so check product instructions and the regulations where you live. Read the full disclaimer.