How to fix small holes and cracks in walls
Nail holes, dents, hairline cracks, and holes up to a few inches across can all be repaired with filler, a putty knife, and some patience with sanding.
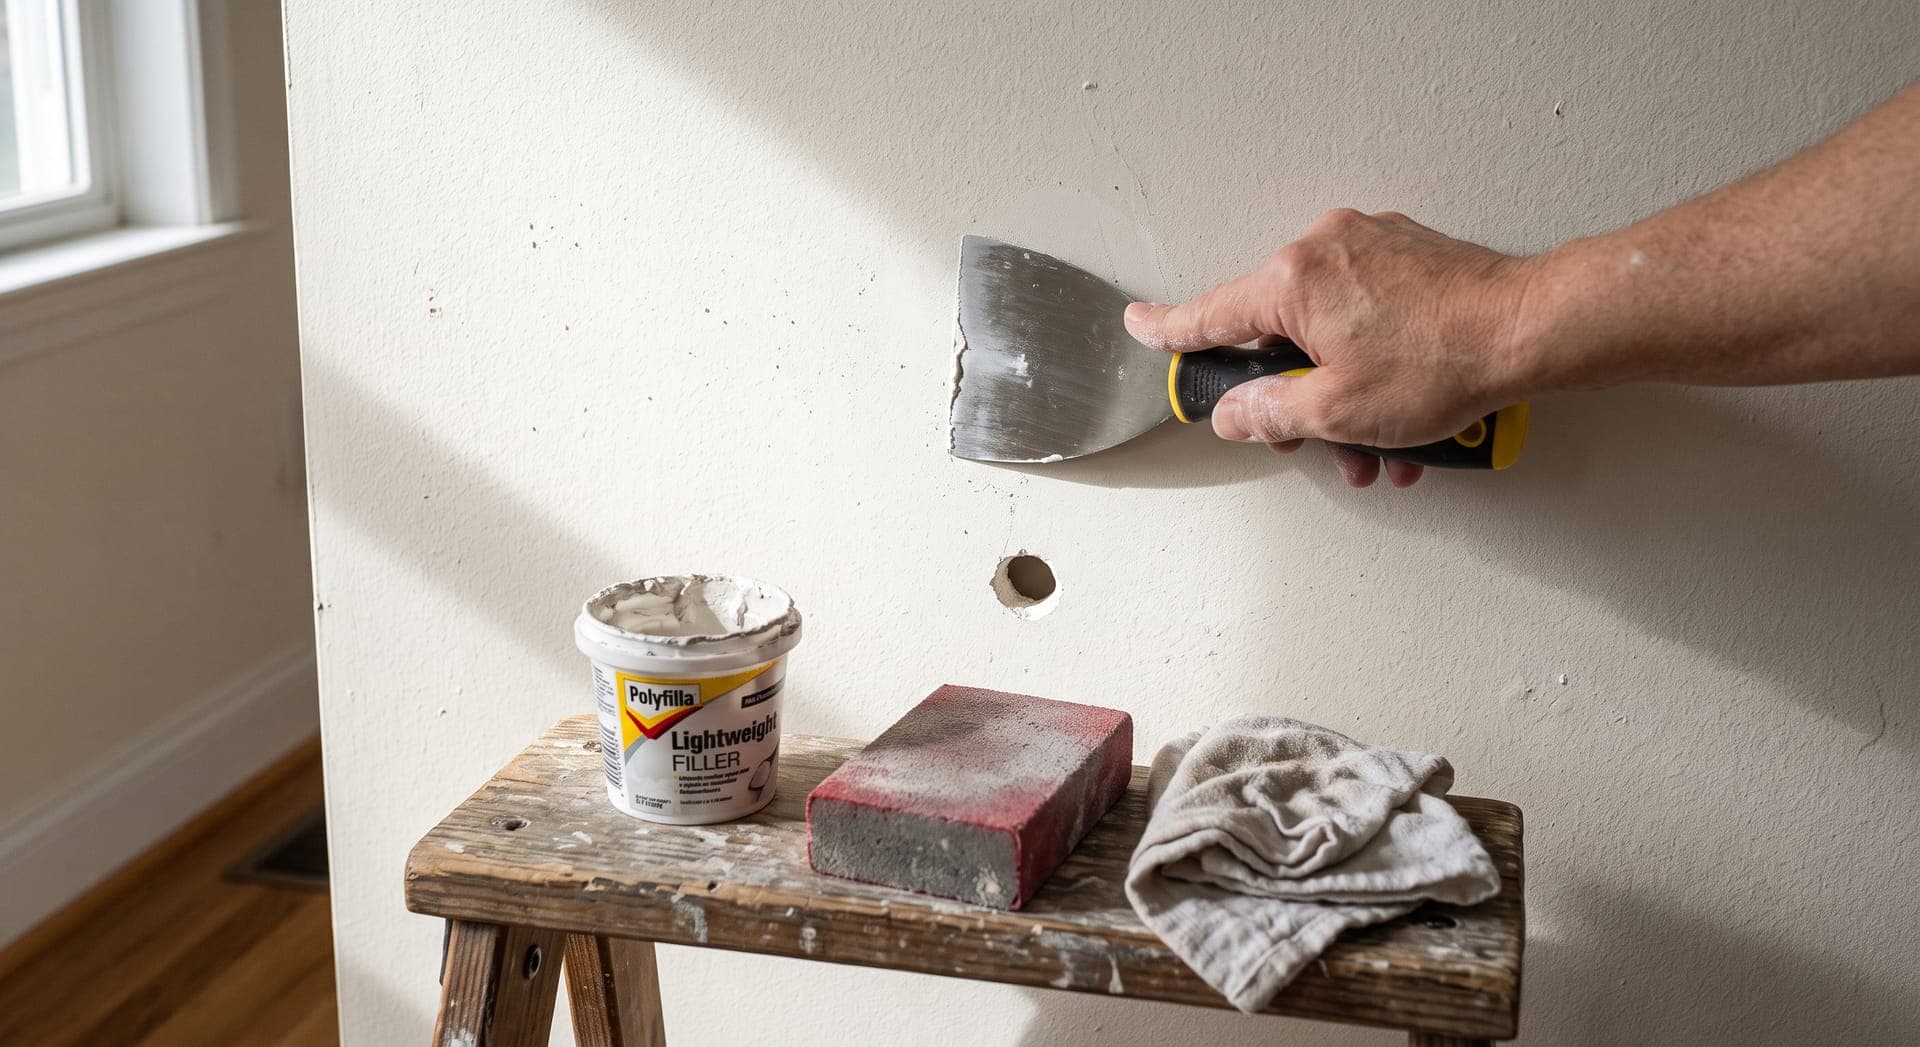
Small wall damage is easy to repair, and once the patch is painted it can be invisible. Nail and screw holes, dents from door handles, small holes from wall anchors, and hairline cracks around door frames all respond to the same basic method: fill, let dry, sand smooth, prime, and paint.
Patience matters more than skill. Most visible patches are the result of applying too much filler at once or painting before it has dried.
Identify the type of damage
- Nail and screw holes, and small dents: fill with lightweight spackle in one or two thin passes.
- Holes up to about half an inch across, such as those left by wall anchors: fill in two or three layers, letting each dry.
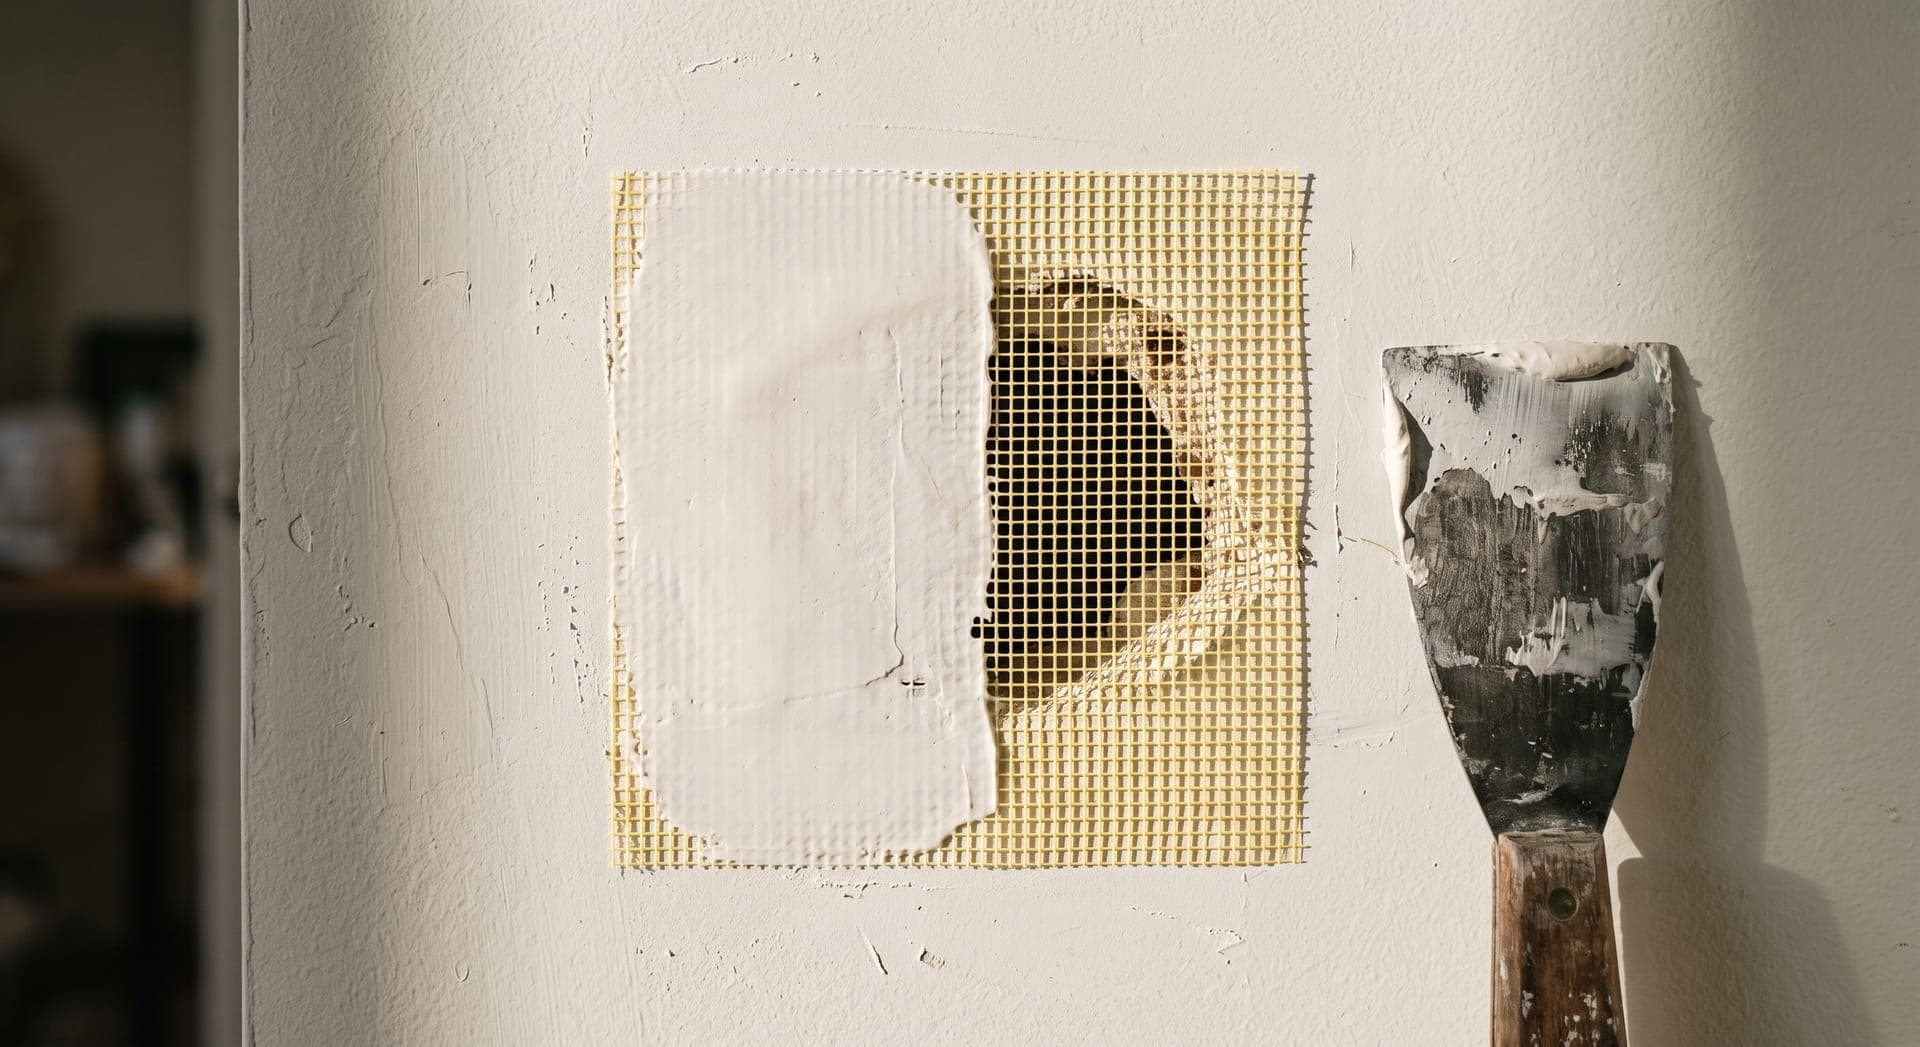
- Holes from about half an inch to a few inches across: cover with a self-adhesive mesh patch, then fill over it with joint compound.
- Hairline cracks in drywall or plaster: open slightly, fill, and in drywall add paper or mesh tape if the crack keeps returning.
Cracks that need a professional look
Most hairline cracks come from normal shrinkage and seasonal movement. Ask a structural engineer or experienced builder to look if a crack is wider than about a quarter of an inch, gets wider over weeks, runs diagonally from the corners of doors or windows, is wider at one end, or appears along with doors and windows that suddenly stick. Water stains around a crack point to a leak that needs fixing first.
Tools and materials
- Lightweight spackle for small holes. Some types change color when dry, which helps beginners.
- Premixed joint compound for larger repairs and cracks.
- Self-adhesive mesh patches for holes a few inches across.
- A flexible 1.5- to 2-inch putty knife, and a wider 4- to 6-inch knife for patches.
- A fine sanding sponge or 120- to 220-grit sandpaper on a block.
- A utility knife, a damp cloth, primer, matching wall paint, and a small brush or roller.
Lightweight spackle shrinks little and dries quickly, which is why it suits small holes. Joint compound is easier to feather into a wide, smooth patch. If your home was built before 1978 and you need to sand old paintwork, test for lead paint first, as described in the guide to painting a room.
How to fill nail holes and small dents
- Push any loose paint or raised edges flat with the putty knife or the handle of a screwdriver. Pull out any nail that is sticking out, or tap it below the surface.
- Pick up a small amount of spackle on the corner of the knife.
- Press it into the hole, holding the knife at a low angle, then scrape across the hole in the other direction to leave it level with the wall. Leave as little extra around the hole as you can.
- Let it dry fully. Small holes dry in under an hour; deeper ones take longer.
- If the filler has shrunk into a dip, apply a second thin coat.
- Sand lightly until you cannot feel the patch with your fingertips. Wipe away the dust.
How to fill larger holes with a mesh patch
- Cut away any loose paper or crumbling drywall around the hole with a utility knife so the edges are firm.
- Sand the wall lightly around the hole so the patch sits flat.
- Center a self-adhesive mesh patch over the hole and press it firmly in place.
- Spread a thin coat of joint compound over the patch with the wide knife, working in a cross pattern. Extend the compound an inch or two beyond the edge of the mesh.
- Let it dry completely. Joint compound often takes several hours or overnight; check the package.
- Apply a second, wider coat, feathering the edges thin so they blend into the wall. Let it dry.
- Add a third very thin coat if you can still see the mesh pattern or the edge of the patch.
- Sand gently with a fine sanding sponge until the patch is flush. Do not sand through to the mesh.
Holes larger than a mesh patch, or holes where the drywall is crumbling, need a piece of new drywall cut to fit. That is a reasonable DIY job once you are comfortable with patches, but a handyperson can do it quickly if you are not.
How to repair hairline cracks
Cracks in plaster and drywall often reappear if you only smear filler over them, because the wall moves slightly with the seasons.
- Run the corner of a utility knife or a putty knife along the crack to remove loose material and open it into a shallow V. This gives the filler something to hold.
- Brush or vacuum out the dust and wipe with a barely damp cloth.
- Press joint compound or flexible crack filler into the crack and scrape it level.
- If the crack is along a drywall seam, or it has come back before, embed a strip of paper or mesh joint tape in a thin layer of compound over it, then cover the tape with two thin, wider coats.
- Let each coat dry, then sand smooth.
For cracks where walls meet ceilings or trim, a flexible paintable caulk often works better than filler, because it can move.
Prime and paint the patch
Filler absorbs paint differently from the wall around it, and an unprimed patch often shows as a dull spot. Brush primer over each repair, slightly beyond its edges, and let it dry. Then paint.
For one or two small repairs, dab paint on with a small brush and feather it out. For larger patches, use a small roller with the same nap as the original painting, so the texture matches. If the wall paint is old, a touch-up may look slightly different in color or sheen, and repainting the whole wall corner to corner will give a better result.
Common mistakes
- Applying one thick layer of filler, which shrinks, cracks, and takes a long time to dry.
- Leaving a wide smear of filler around a small hole, which then needs a lot of sanding.
- Sanding before the filler is completely dry, which drags it out of the hole.
- Oversanding, which scuffs the paper face of the drywall. Raised fuzzy paper needs a coat of primer before more filler.
- Skipping primer and getting a visible patch.
Questions about wall repairs
How do I know when filler is dry?
It looks uniformly lighter in color and feels hard rather than cool to the touch. Color-changing spackle turns from pink to white. When in doubt, wait longer.
Can I fill holes in a rented apartment?
Usually, and many landlords expect small nail holes to be filled when you move out. Ask first if you plan to repaint, and use the original paint color if the landlord can tell you what it is.
Why did my crack come back?
The wall moves slightly with temperature and humidity. Opening the crack, filling it, and covering it with joint tape usually stops it. If it keeps returning and growing, have it checked.
Thin coats, dry time, light sanding
Use thin layers of filler, let each one dry completely, and sand only until the patch is smooth. Prime before you paint. If you are repairing a whole room's worth of holes before repainting, follow on with the guide to painting a room properly. The guide to beginner tools lists the putty knives and sanders worth owning.
This guide is general information. Homes, materials, and local rules differ, so check product instructions and the regulations where you live. Read the full disclaimer.