15 simple DIY home improvements that make a room look better
Better light, fresh paint, new hardware, and fewer things on show. None of these need a contractor, and most take an afternoon.
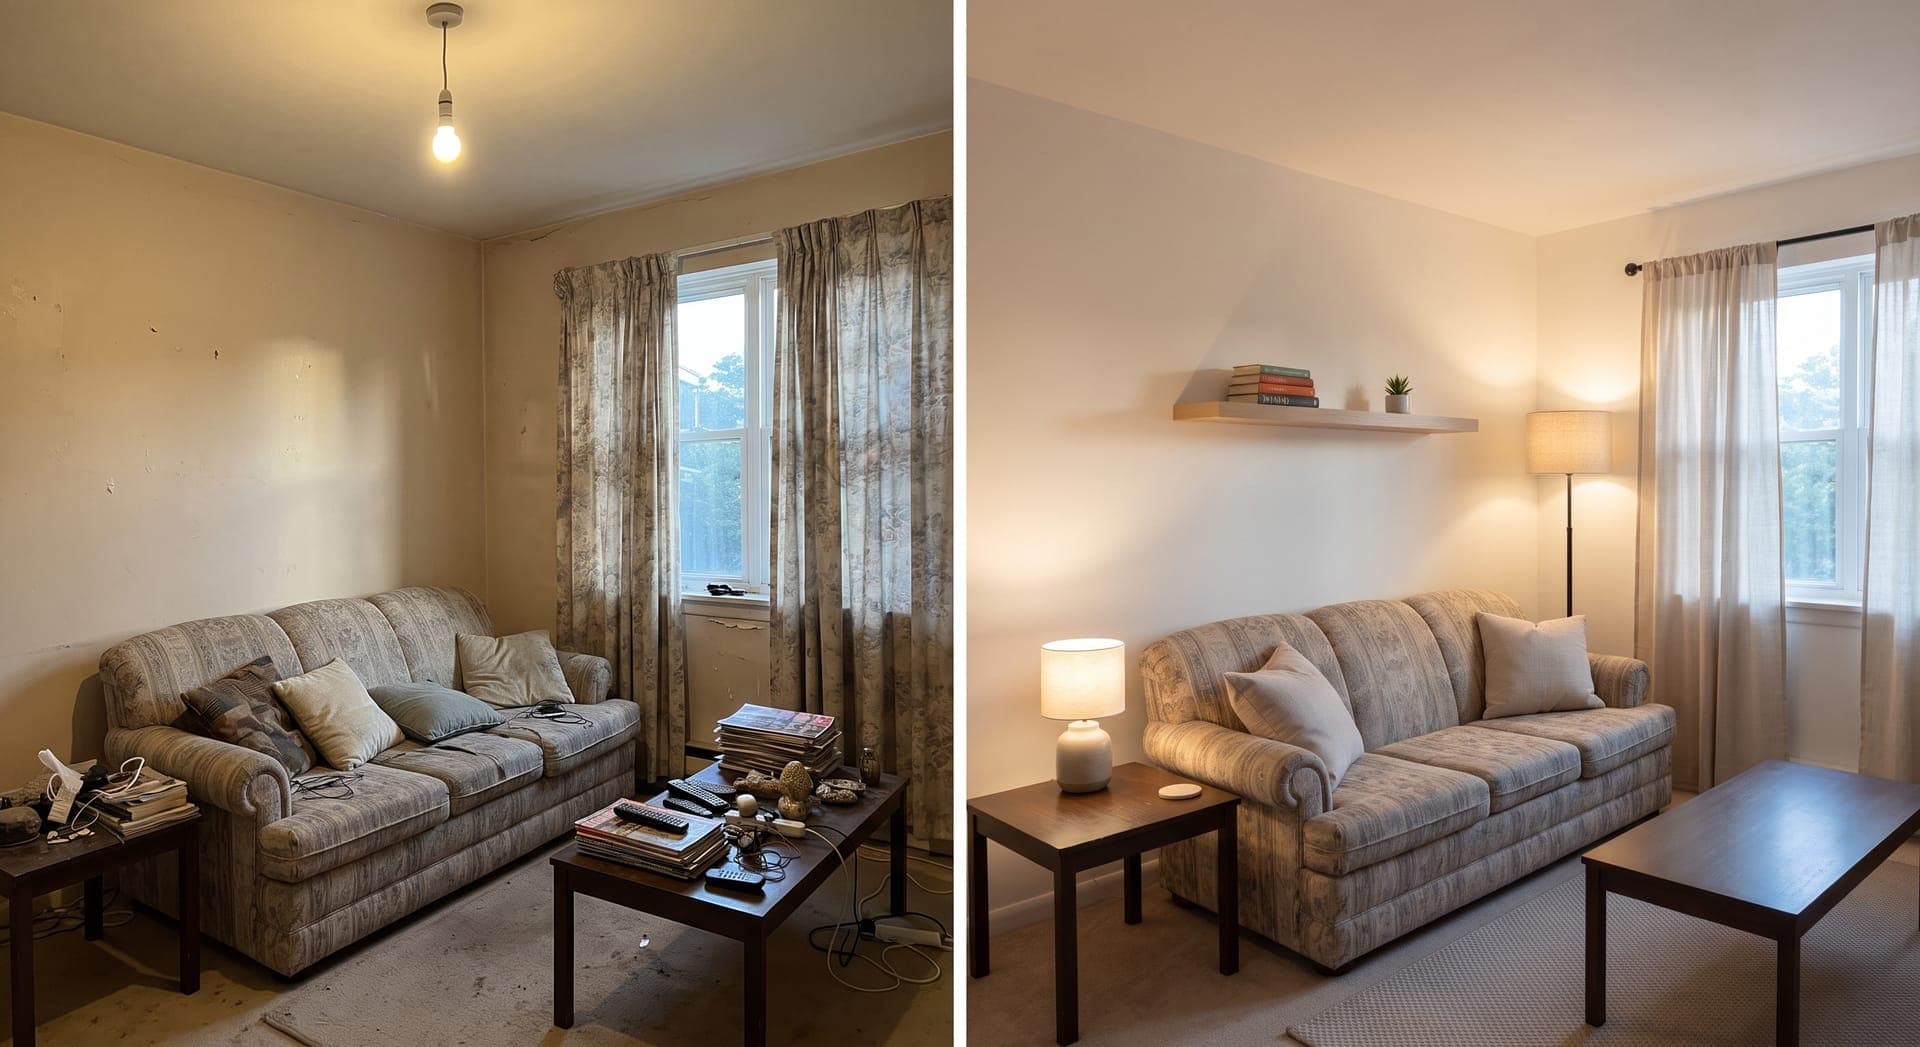
A room that looks tired usually has several small problems at once: one harsh ceiling light, scuffed paint, mismatched hardware, curtains hung too low, and too many objects on every surface. Each of those has a cheap fix, and fixing three or four of them together changes how the room feels.
The fifteen improvements below need no contractor and no demolition. Most take an afternoon or less. They are grouped by what they change, so you can pick the group that bothers you most and start there.
Start with light, because it changes everything else
1. Add lamps at different heights
A single overhead fixture lights a room flatly and throws shadows into the corners. Add two or three lamps at different heights, such as a floor lamp in a dark corner, a table lamp beside the sofa, and a small lamp on a shelf. With light coming from several places, the room feels larger and calmer in the evening. You can often move lamps you already own from other rooms to test the idea before buying anything.
2. Use the same bulb color throughout the room
Bulbs are labeled with a color temperature in kelvin. Lower numbers (around 2700K to 3000K) give a warm, yellowish light that suits living rooms and bedrooms. Higher numbers (4000K and up) look cooler and whiter, which some people prefer in kitchens and workspaces. Mixing them in one room makes walls look patchy. Check the box, choose one temperature per room, and replace bulbs that do not match.
3. Make the lighting adjustable
Plug-in dimmers and smart plugs let you turn lamps down or put them on a schedule without touching any wiring. Replacing a wall switch with a dimmer is a common upgrade, but it means working with household wiring. In many places that work must be done by a licensed electrician, and you should hire one unless you are qualified and your local rules allow it.
Refresh the walls and trim
4. Repaint one room properly
Paint is the cheapest way to change a room completely. A pale, warm neutral reflects light and makes a small room feel brighter, while a deeper color can make a large room feel more enclosed and comfortable. Most of a good result comes from preparation. The guide to painting a room properly covers every step.
5. Paint the trim and doors
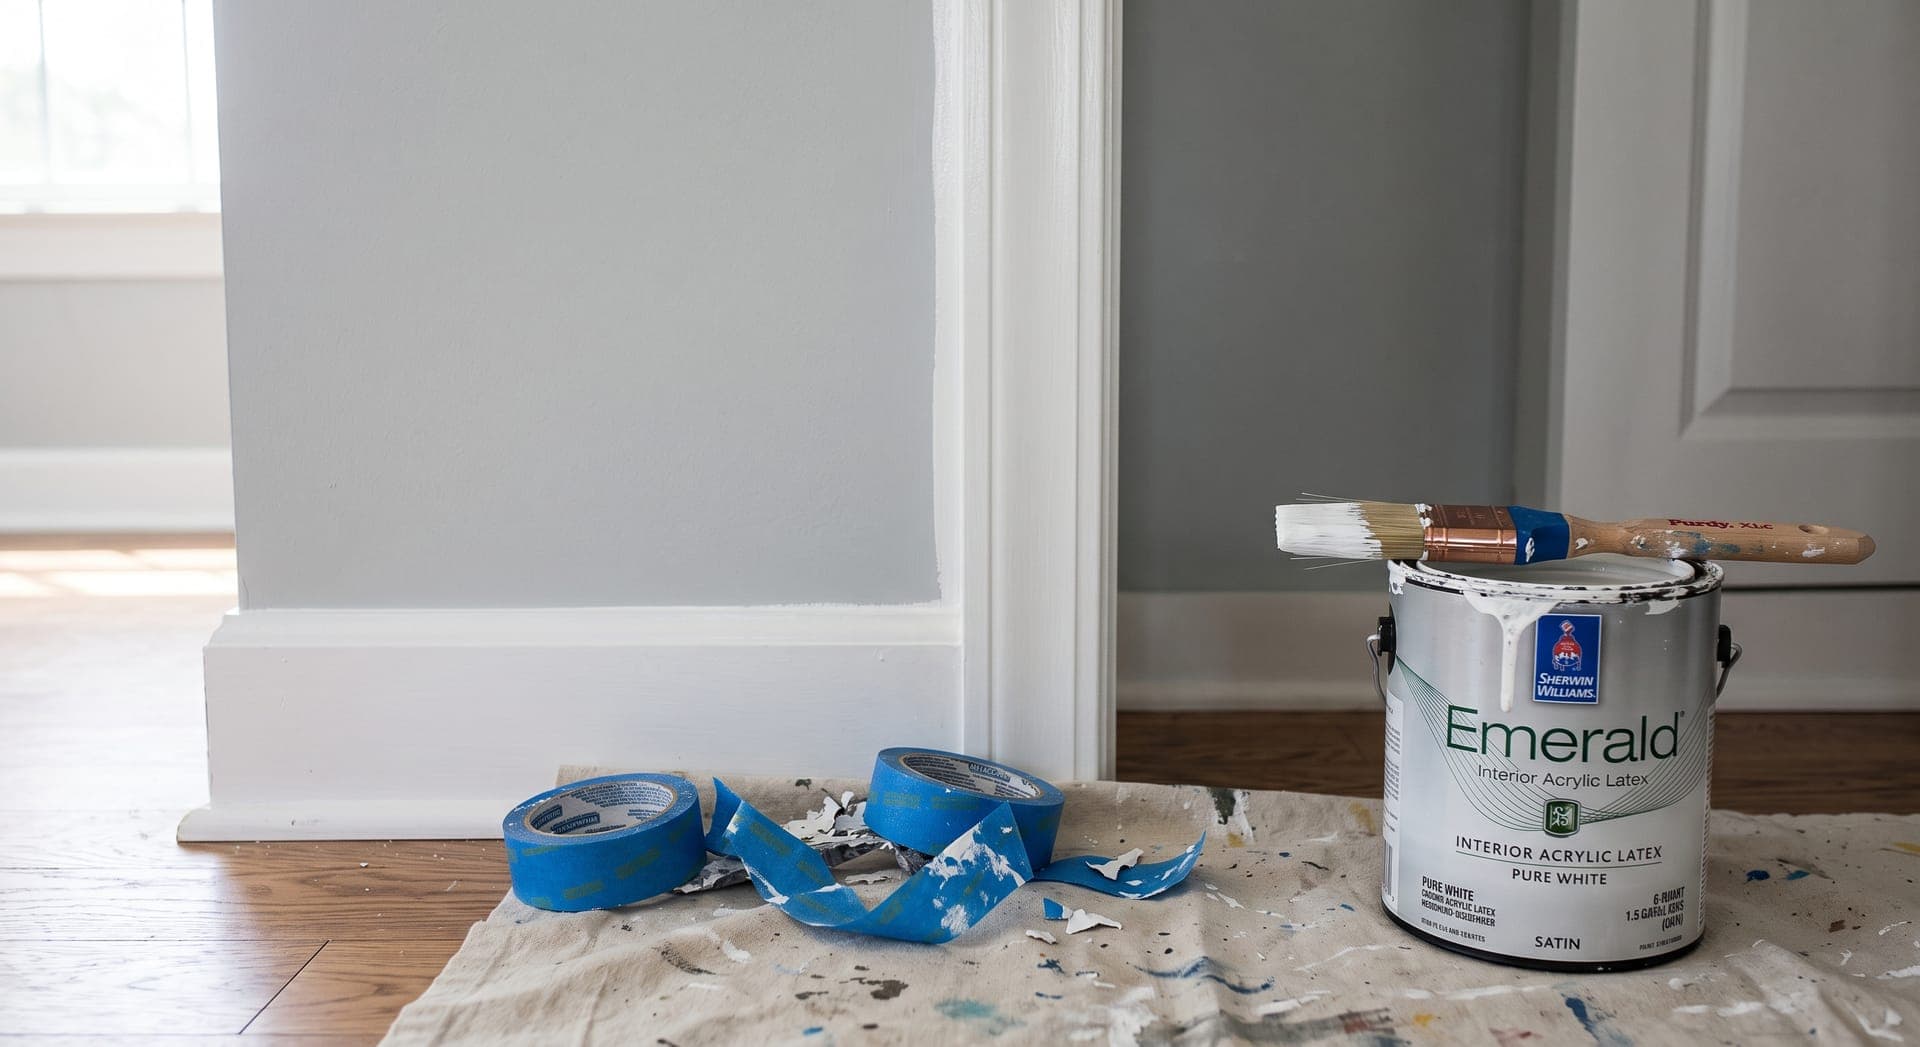
Baseboards, door frames, and interior doors collect scuffs and fingerprints faster than walls. Cleaning them, sanding lightly, and repainting in a semi-gloss or satin finish makes the whole room look sharper even if you leave the walls alone. Semi-gloss is easier to wipe clean, which is why it is the usual choice for trim.
6. Fix the small damage first
Nail holes, dents behind doors, and hairline cracks draw the eye once you notice them. Filling them takes minutes per hole. See how to fix small holes and cracks in walls before you paint, so the repairs disappear under the new coat.
Replace the small hardware you touch every day
7. Swap cabinet and drawer handles
New pulls and knobs change the look of a kitchen, bathroom vanity, or dresser for a modest cost. Before buying, measure the distance between the centers of the two screw holes on an existing pull. Buying pulls with the same spacing means you can use the existing holes and avoid filling and redrilling. Take one old handle with you to compare screw length too.
8. Replace cracked or yellowed switch plates and outlet covers
Cover plates are held on by one or two screws and are cheap to replace. Changing them does not involve the wiring behind them. If you find a cracked outlet, scorch marks, or a switch that feels warm, leave it alone and call an electrician.
9. Change a showerhead
Most showerheads unscrew from the arm by hand or with an adjustable wrench (wrap the nut in a cloth to avoid scratching it). Clean the threads, wrap them two or three times clockwise with plumber's thread seal tape, and screw on the new head hand tight plus a little more. Turn on the water and check for drips.
Give things a place and clear the surfaces
10. Hang curtains higher and wider
Curtain rods are often mounted right on top of the window frame. Mounting the rod several inches above the frame, and extending it past the frame on each side, lets the curtains stack against the wall instead of the glass. The window looks larger and more daylight gets in. Measure the length you will need from the new rod height before you buy curtains.
11. Put up one useful shelf
A single shelf above a desk, beside a door, or over a radiator can take the clutter off a table. Use a stud finder and screw brackets into the framing where you can, or use wall anchors rated for the load. The weekend projects guide walks through putting up shelves.
12. Clear the flat surfaces
Tables, counters, and the tops of dressers look better with fewer things on them. Take everything off one surface, put back only what you use or genuinely like, and find another home for the rest. Repeat on the next surface. It costs nothing and often makes more difference than anything you could buy. The guide to storage ideas for small homes has places to put what you take off.
Finish with textiles and pictures
13. Choose a rug that fits the furniture
A rug that is too small floats in the middle of a room and makes it look disjointed. In a living room, a rug large enough for at least the front legs of the sofa and chairs to rest on it pulls the furniture together into one group. Mark the outline on the floor with painter's tape before buying to check the size.
14. Refresh cushion covers and throws
Washing or replacing cushion covers and adding one throw changes the color of a room without repainting. Removable covers can be swapped by season. Stick to two or three colors that already appear in the room.
15. Hang pictures at a consistent height
Pictures hung too high are one of the most common reasons a room feels off. A widely used guideline is to place the center of a picture about 57 to 60 inches from the floor, which is roughly eye level for most adults. Over a sofa, leave a gap of several inches above the back. Hanging several pictures at the same center height ties a room together.
How long each improvement takes
| Improvement | Rough time | Skill |
|---|---|---|
| Lamps, bulbs, plug-in dimmers | Under an hour | None |
| Repaint a room | A weekend | Beginner |
| Paint trim and doors | A day | Beginner |
| Fill holes and cracks | An hour plus drying | Beginner |
| Cabinet handles | One to two hours | Beginner |
| Switch plates and outlet covers | Under an hour | None |
| Showerhead | Under an hour | Beginner |
| Curtain rods | One to two hours | Beginner |
| A wall shelf | One to two hours | Beginner to intermediate |
| Rug, textiles, clearing surfaces | An afternoon | None |
| Hanging pictures | An hour | Beginner |
Mistakes that undo the effect
- Buying decorative items before clearing the room. New things on top of old clutter just add more clutter.
- Painting without preparation. Paint over grease, dust, or unfilled holes shows every flaw.
- Choosing paint colors from a tiny chip under store lighting. Paint a large sample on two walls and look at it in daylight and at night.
- Using a cheap drywall anchor for a heavy shelf. Check the load rating, and use studs when you can.
- Changing every room halfway. Finish one room so you can see what works before moving on.
Questions about simple home improvements
Which improvement makes the biggest difference for the money?
For most rooms, lighting and paint. Adding lamps and matching bulbs costs little and changes the room every evening. Paint changes it all day.
Can renters do these?
Most of them. Lamps, bulbs, textiles, rugs, and clearing surfaces need no permission. For painting, putting up shelves, and changing hardware, ask your landlord first and keep the original parts so you can put them back when you leave.
Do I need to hire anyone?
Only for electrical work such as hardwired light fixtures and wall dimmers, where local rules often require a licensed electrician. Everything else on this list is suitable for beginners.
Pick one room and three changes
Choose the room you use most. Start with the lighting, fix and repaint whatever is scuffed, and clear the surfaces. Live with the result for a week before deciding what else it needs. For a smaller room, the guide to making a small room feel bigger goes further into layout and mirrors.
This guide is general information. Homes, materials, and local rules differ, so check product instructions and the regulations where you live. Read the full disclaimer.