How to organize a small kitchen
Sort what you own, keep what you use daily within reach, and use the vertical space you already have. A small kitchen works well when each item has one obvious place.
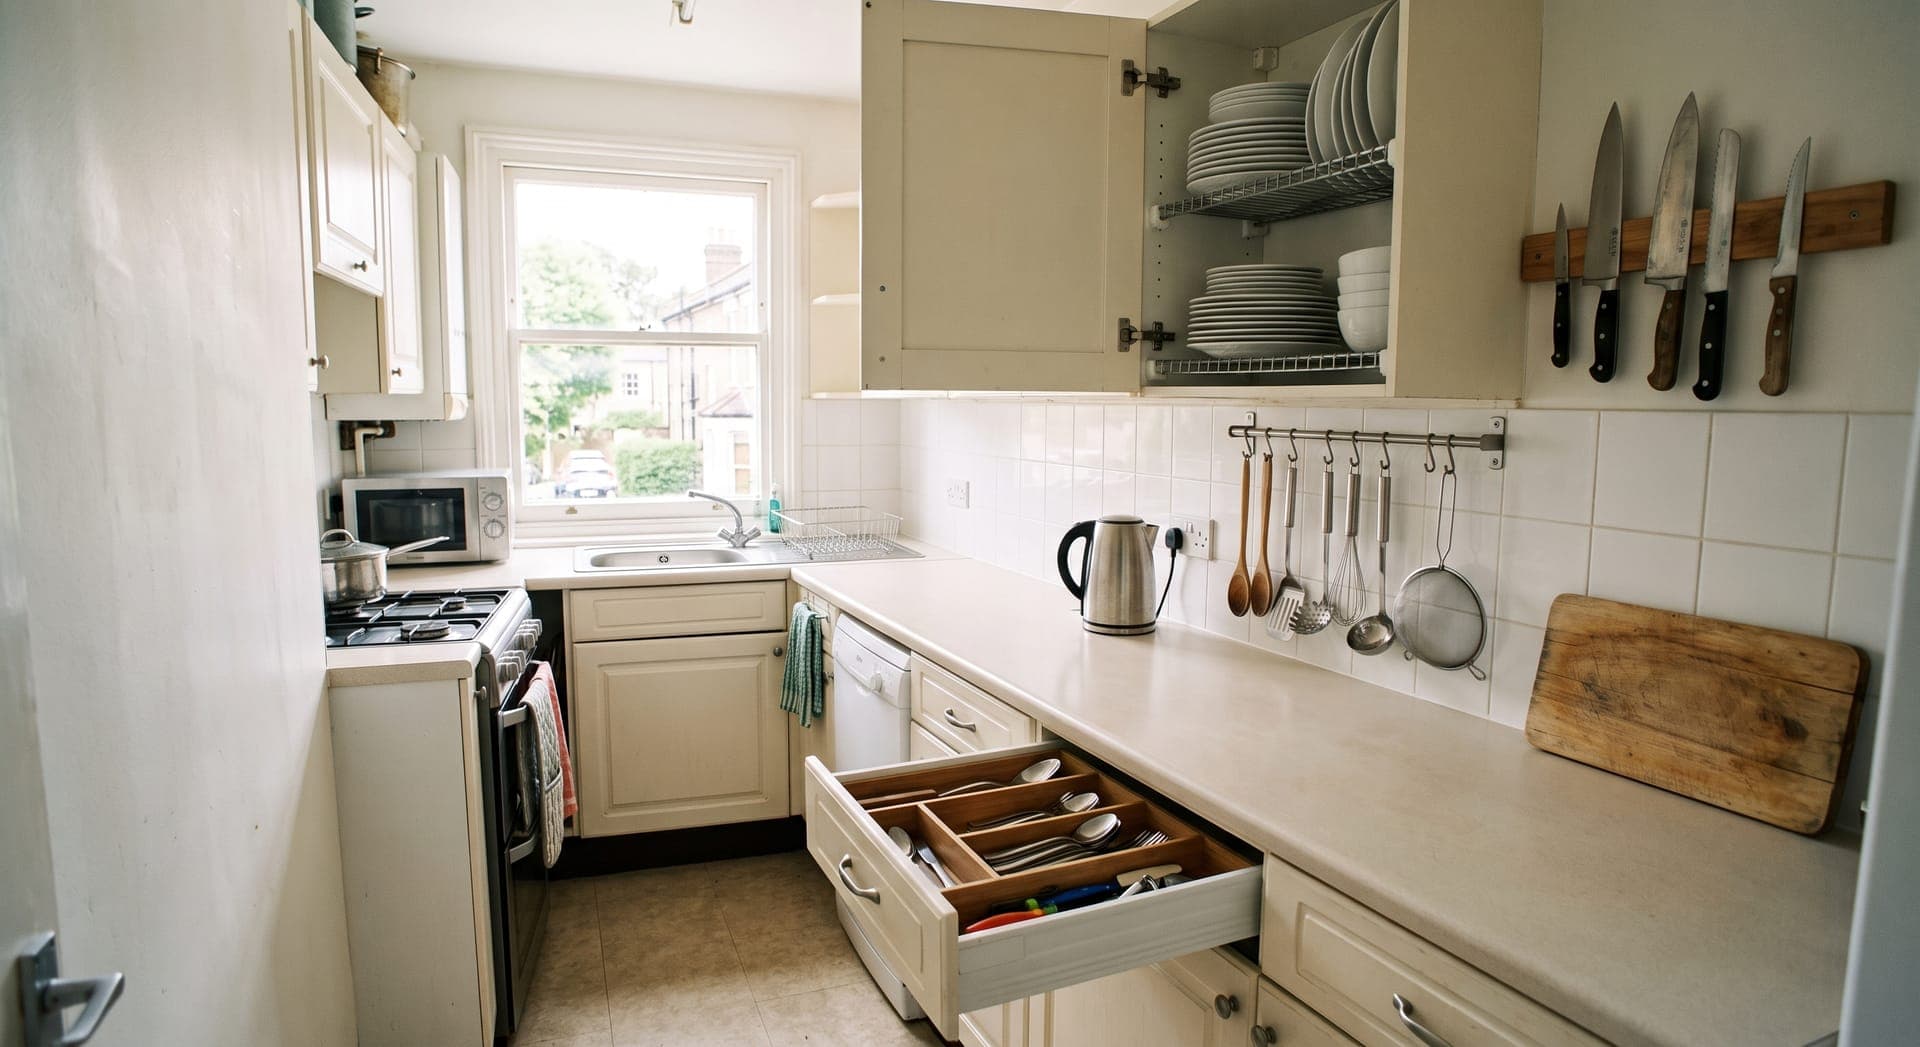
A small kitchen gets frustrating when things have no fixed place, so every task starts with moving something out of the way. Organizing it means deciding what you actually use, keeping those things near where you use them, and moving everything else further away or out of the kitchen. Containers come last, once you know what needs to fit.
Set aside a few hours for the first pass. You can do one zone at a time if a whole kitchen is too much in one go.
Step 1: Take everything out and decide what stays
Work one cabinet or drawer at a time. Empty it onto the table and sort what you find:
- Used weekly or more: keep in the kitchen.
- Used a few times a year, such as a roasting pan, holiday platters, or a stand mixer used for one recipe: keep, but store high, low, or outside the kitchen.
- Duplicates: most kitchens collect more spatulas, mugs, and storage containers than they need. Keep the best and donate the rest.
- Containers without lids, and lids without containers: recycle them.
- Expired food and spices that have lost their smell: throw them away.
- Gadgets that do one thing you can do with a knife: consider letting them go.
Wipe each cabinet and drawer while it is empty.
Step 2: Plan zones around how you cook
Group items by the task they belong to, and store each group where that task happens.
| Zone | Where | What goes there |
|---|---|---|
| Prep | Your largest stretch of counter | Knives, cutting boards, mixing bowls, measuring cups |
| Cooking | Beside and below the stove | Pans, pots, cooking utensils, oils, salt, everyday spices |
| Cleaning | Under and beside the sink | Dish soap, sponges, cloths, trash and recycling |
| Dishes | Near the dishwasher or drying rack | Plates, bowls, glasses, cutlery |
| Food storage | Pantry, tall cabinet, or shelves away from the stove's heat | Dry food, cans, snacks, food containers |
In a very small kitchen, zones overlap. The aim is that you can make a regular meal while moving as little as possible.
Step 3: Clear the counters
Counter space is the scarcest thing in a small kitchen. Keep only what you use every day on it: perhaps the kettle or coffee maker, a cutting board, and a holder for the utensils you reach for most. Appliances used less than weekly go into a cabinet. A clear counter is also faster to wipe down.
Step 4: Make cabinets hold more
- Add shelf risers to split tall shelves into two levels for plates, bowls, and mugs.
- Store frying pans and baking sheets on their sides in a vertical rack, so you can pull one out without lifting the others.
- Use a lid organizer, or keep lids on their pots, so they do not slide around loose.
- In a deep corner cabinet, a turntable (lazy Susan) brings items at the back within reach.
- Pull-out bins or baskets in deep lower cabinets act like drawers.
- Keep heavy items, such as cast iron and stacks of plates, at waist height or below. Lifting heavy things down from above head height is how kitchen accidents happen.
Step 5: Divide the drawers
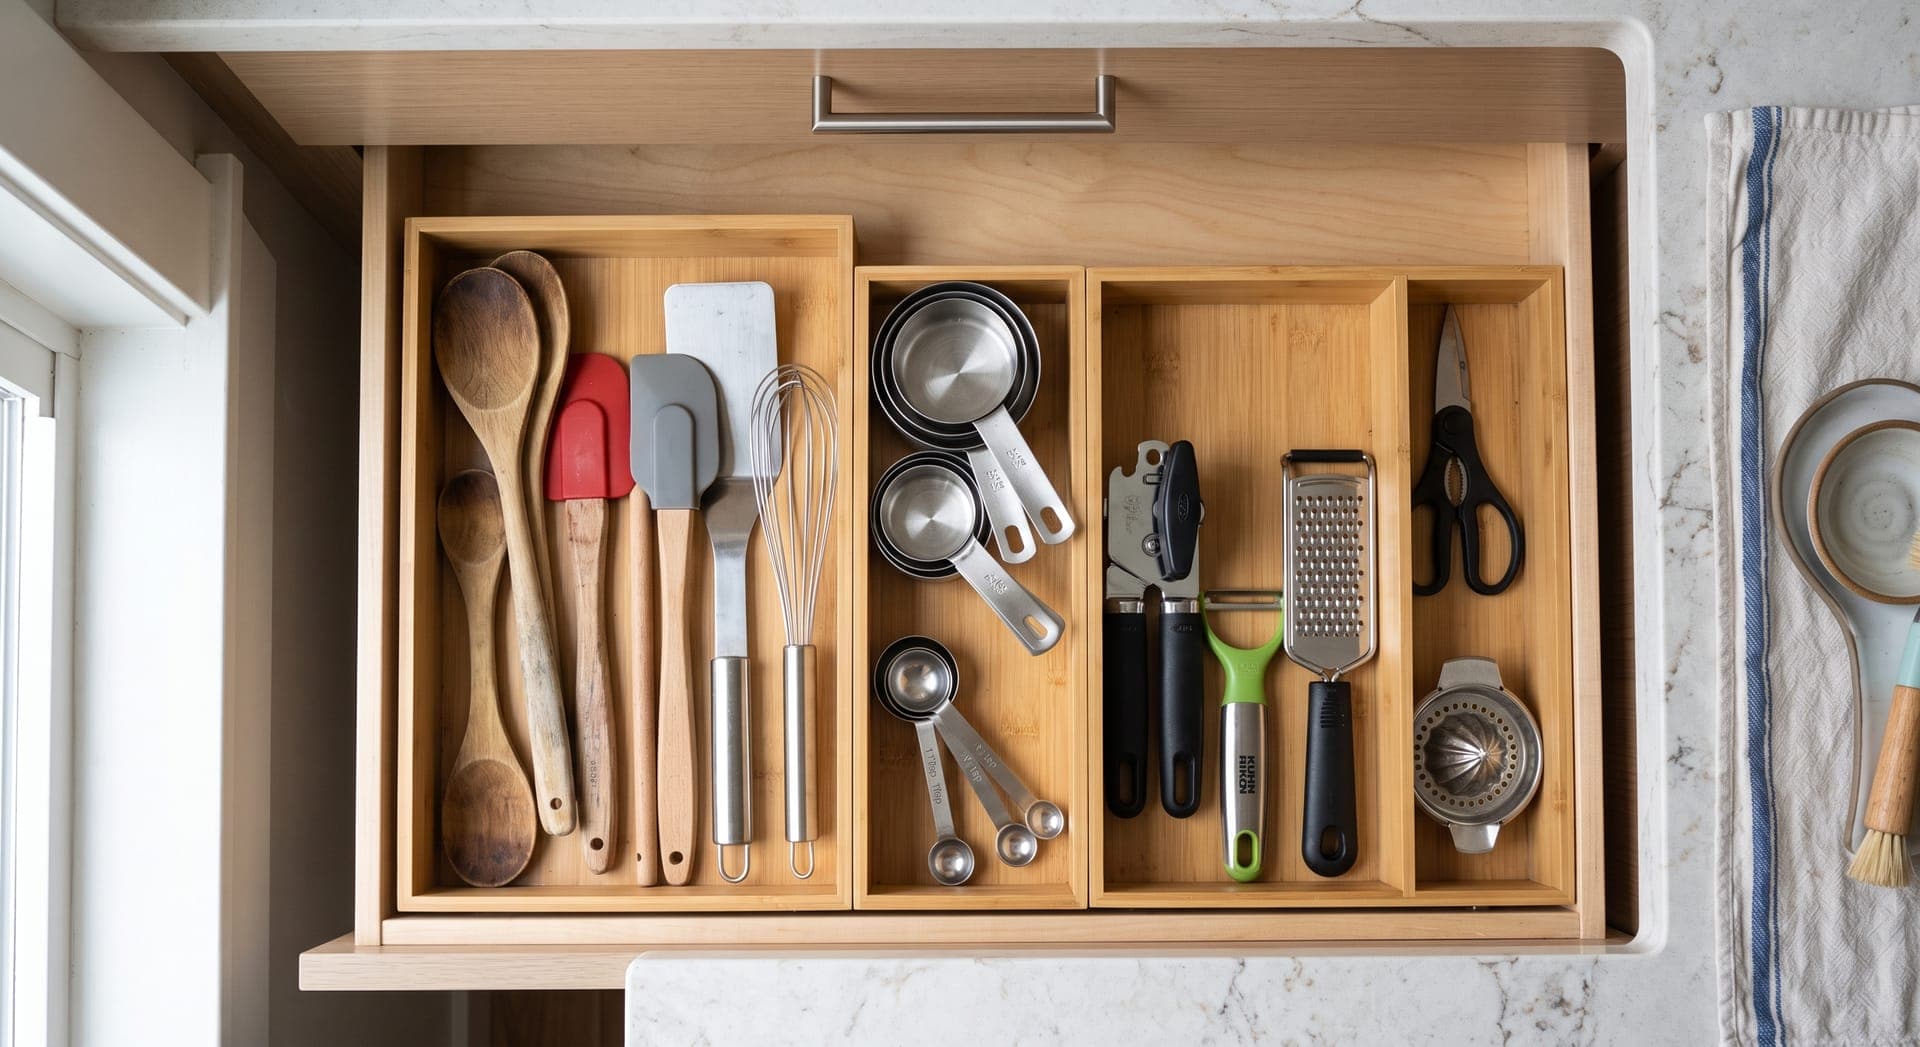
Drawer dividers stop utensils from becoming a tangle. Measure the inside of each drawer before buying, or use small boxes and trays you already have. Keep the items you use most at the front. Allow yourself one drawer for miscellaneous things, such as scissors, tape, and batteries, and clear it out every few months.
Step 6: Use the walls and the inside of doors
- A wall rail with S-hooks holds utensils, mugs, or small pans above the counter.
- A magnetic knife strip frees up a drawer or a knife block on the counter. Mount it out of children's reach and away from where people lean.
- An open shelf above the counter holds everyday plates or jars. Keep it to things you use daily, so they do not gather grease and dust.
- Hooks under upper cabinets hold mugs.
- Racks or hooks inside cabinet doors hold cutting boards, foil, and lids. Measure first so the door still closes.
- An over-the-door rack on a pantry or kitchen door adds shelves for spices and cans.
- Baskets on top of upper cabinets hold items used once or twice a year. Use a step stool to reach them, never a chair.
The guide to storage ideas for small homes has more ideas that work in kitchens, including options for renters.
Step 7: Organize food storage
- Group food by type on shelves: breakfast, baking, grains and pasta, cans, snacks.
- Put new purchases behind older ones so the older food gets used first.
- Clear containers show how much is left. Decanting is optional; labels on the front of shelves do much of the same job.
- Store spices in a drawer insert, a tiered shelf, or a door rack, with labels facing up or out.
- In the fridge, keep similar foods together, put leftovers at eye level so they get eaten, and wipe a shelf each week before shopping.
Step 8: Sort out the space under the sink
Use a two-tier organizer designed to fit around pipes, or a caddy you can lift out. A tension rod across the cabinet holds spray bottles by their triggers. Keep the shutoff valves clear so you can reach them. Store cleaning products here only if no young children are in the home, or fit a child-safety latch; the guide to making your home safer for children covers which latches to use.
Keep it organized
- Spend five minutes at the end of each day returning things to their zones and clearing the counter.
- Put things back where they live, not where there is space.
- When something new comes in, something similar goes out.
- Revisit one cabinet a month. It takes a few minutes and stops buildup.
The guide to cleaning more efficiently fits these resets into a weekly routine.
Mistakes to avoid
- Buying organizers before decluttering and measuring.
- Keeping rarely used appliances on the counter.
- Storing heavy items up high.
- Filling every open shelf. Open shelves look best and stay cleaner with a few frequently used items.
- Organizing by size or color instead of by task.
Questions about small kitchens
Where should I keep pots and pans?
In a lower cabinet or deep drawer next to the stove, stored vertically or nested with lids kept together. A wall rail works for the one or two pans you use most.
How do I find more counter space?
Clear everything except daily items, use a cutting board that fits over the sink, and consider a small rolling cart or a fold-down wall table if you have floor or wall space.
Is it worth decanting food into matching containers?
It helps with things like flour, rice, and cereal that come in floppy bags, and it makes stock easy to see. It is not necessary for everything. Shelf labels and grouping by type work well too.
One zone at a time
Start with the zone that slows you down most, usually the counter beside the stove. Declutter it, give everything a place, and use it for a week before moving to the next. For the rest of a small home, see how to make a small room feel bigger.
This guide is general information. Homes, materials, and local rules differ, so check product instructions and the regulations where you live. Read the full disclaimer.