How to re-caulk a bath or shower
Cracked or moldy caulk lets water behind the bath or tiles. Stripping it out and resealing is a short job that prevents a slow, hidden leak.
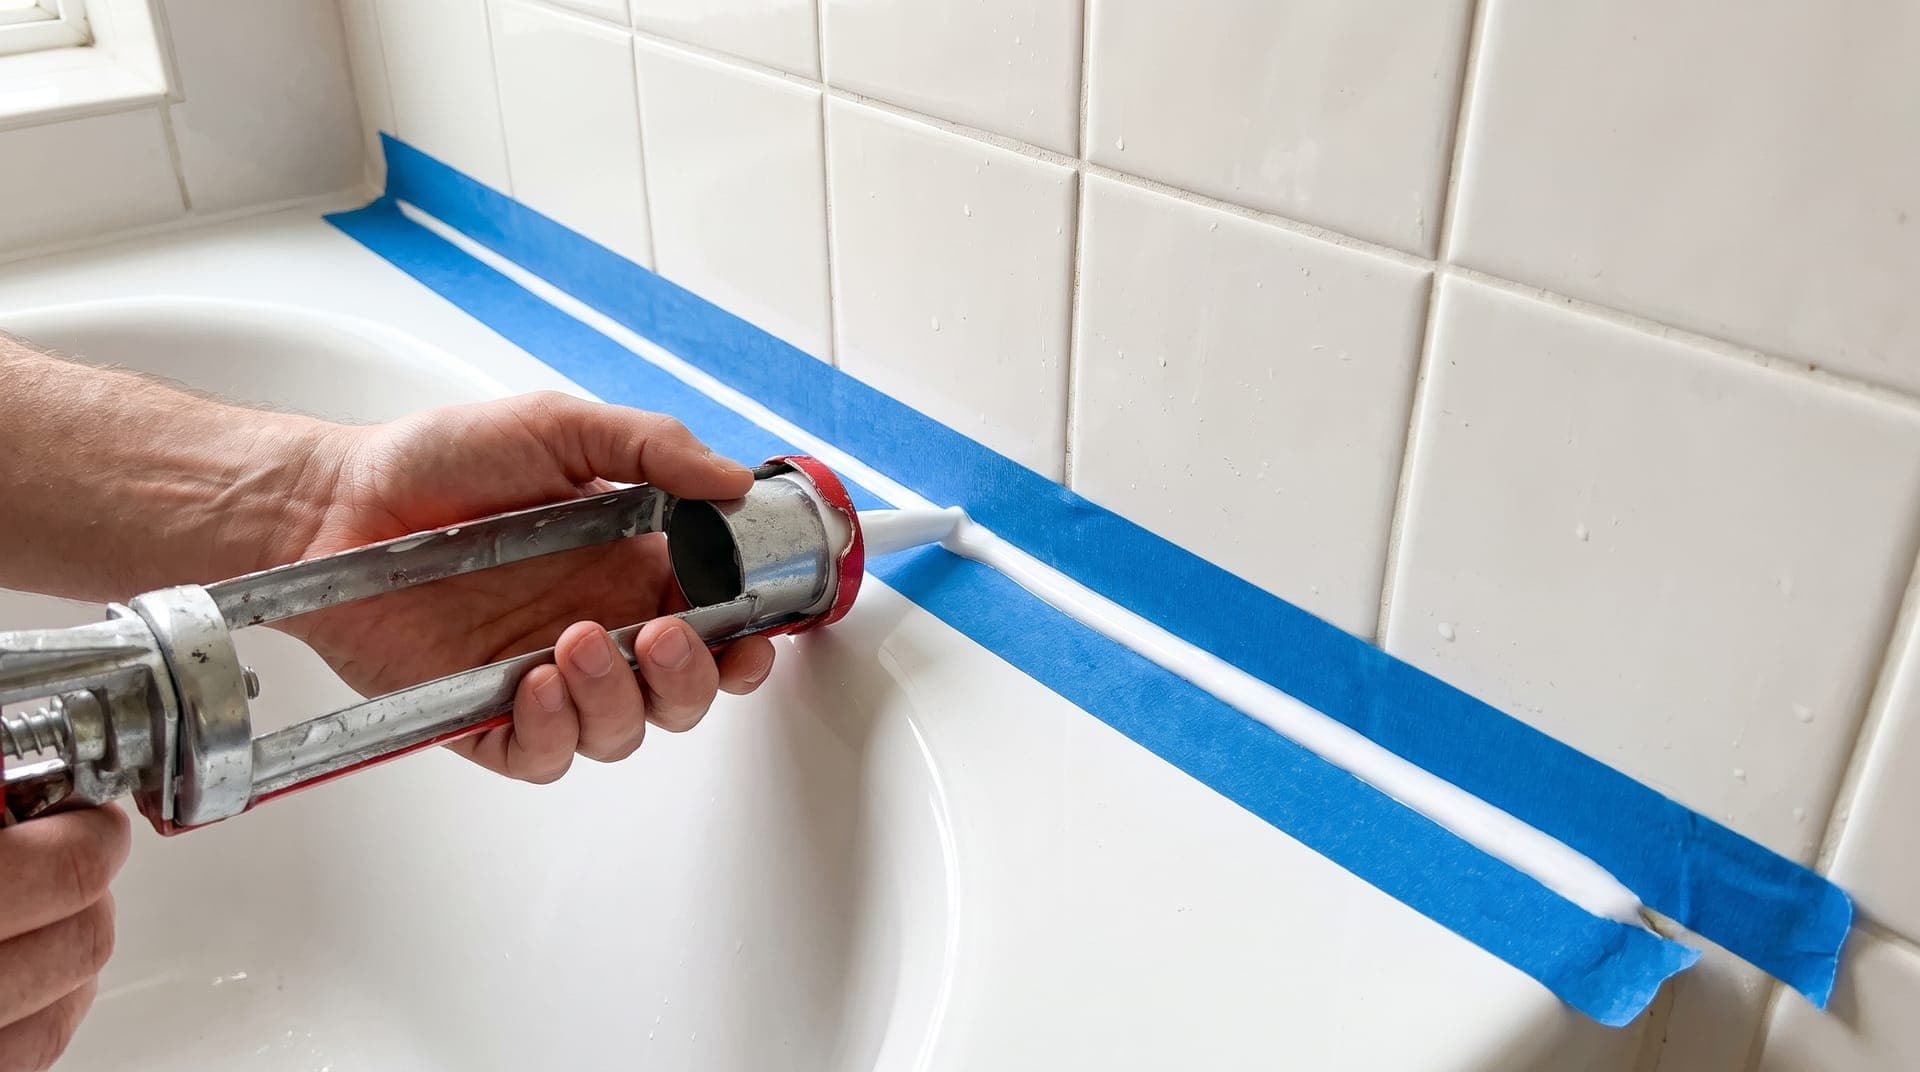
The seal where a bath or shower meets the wall keeps water out of the structure behind it, and once that seal fails, water gets into the wall and floor without showing on the surface. Re-caulking is a short job that prevents an expensive one. The result depends almost entirely on preparation, not on how neatly you run the final bead.
This guide covers when the old caulk needs to go, which sealant to buy, how to strip the joint back to clean dry surfaces, and how to lay and tool a bead that lasts. Doing it properly takes an afternoon plus curing time, and it uses tools you may already own from other weekend DIY projects.
When caulk needs replacing
Old sealant rarely fails all at once. Watch for these signs, and replace the whole run rather than patching one spot, because the rest is usually close behind.
- Cracks or splits along the bead, which open a path for water on every use.
- The caulk peeling or lifting away from the tile or the bath edge.
- Gaps where the bead has shrunk back and no longer bridges the joint.
- Black mold growing through the sealant that will not clean off, which means it has rooted into the material.
Choose the right sealant
For a bath or shower, use 100% silicone sealant. It stays flexible and waterproof where the joint moves and gets wet daily. Look for a tube labeled mold-resistant or made for bathrooms and kitchens. Avoid acrylic-only caulk, sometimes sold as painter's caulk, around baths: it is easier to tool but absorbs water and fails quickly in a wet joint.
Beyond the sealant, have a smoothing tool or a lint-free cloth for tooling the bead, and low-tack masking tape to mask both sides of the joint for a clean edge. A sharp utility knife and a plastic caulk removal tool make stripping the old bead much faster.
Remove the old caulk
A new bead over old caulk will not bond, so every trace of the old material has to come out first.
- Soften the old bead with a dedicated caulk remover left on for the time the product states, or score along both edges with a sharp blade held flat to the surface so it does not scratch.
- Lift an end and pull the bead out in long strips where you can. Silicone often comes away in a continuous ribbon once it is started.
- Scrape off the residue with a plastic tool or a blunt blade. Silicone leaves a thin film that stops new caulk sticking.
- Clean the joint with a household cleaner, then wipe it over with rubbing alcohol to remove any soap or grease.
- Kill any remaining mold with a mold treatment or a diluted bleach solution, following the product's guidance.
- Let the joint dry completely. Any trapped moisture will stop the silicone bonding and feed mold under the new bead.
Apply a clean new bead
With the joint clean and dry, the application itself is quick, but the order matters.
- Mask both sides of the joint with low-tack tape, leaving a gap the width you want the finished bead to be.
- Fill the bath with water before you seal it. The weight pulls the bath down to its lowest point, opening the joint to its widest, so the cured bead will not tear when the bath is used.
- Cut the nozzle small and at an angle, matching the joint width. You can always trim more off; you cannot put it back.
- Run the gun along the joint in one steady pass with even pressure, keeping pace so the bead stays a consistent size.
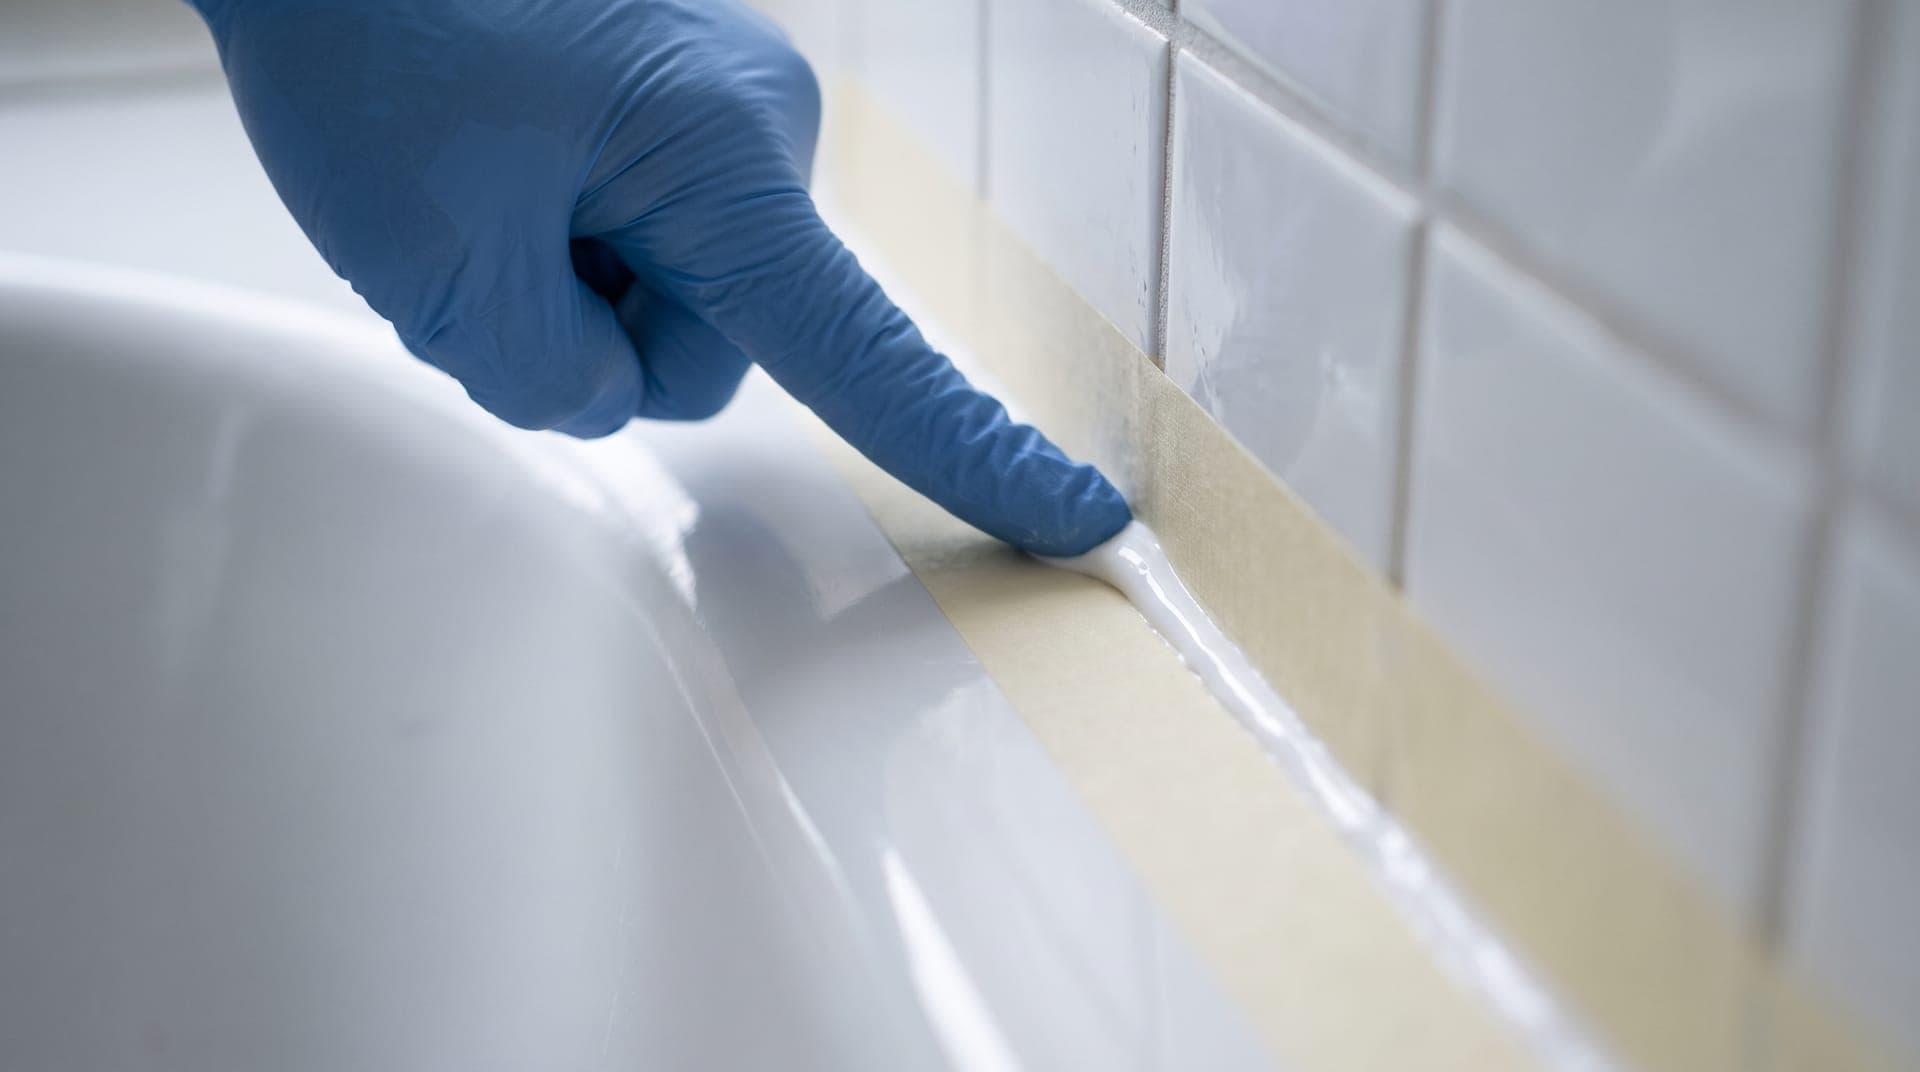
- Tool the bead once with a wet finger or smoothing tool to press it into the joint and leave a smooth concave face. One firm pass is better than several fussy ones.
- Peel the masking tape away while the silicone is still wet, before it skins over, to leave a crisp edge.
Let it cure before you use it
Silicone is not waterproof the moment it is smooth. Most bathroom silicones need around 24 hours before the joint gets wet, and some need longer in a cold or humid room. Check the tube for the exact cure time, drain the bath, and keep the shower and bath out of use until that time has passed. Running water over a half-cured bead ruins the seal.
Mistakes to avoid
- Caulking over a wet or dirty joint, so the new bead never bonds and peels within weeks.
- Laying too much sealant, which leaves a thick ragged bead that traps water at its edges.
- Reusing a moldy joint without killing the mold first, so the stain grows straight back through the new caulk.
- Filling a very wide gap with silicone alone instead of packing backer rod behind it first.
Work safely
- Ventilate the room while you work and cure. Silicone fumes are strong until the bead has set.
- Keep caulk remover off your skin and out of your eyes, and wear gloves when the product tells you to.
- A joint wider than about a quarter inch needs backer rod pushed in behind it, not more silicone on top.
Questions about caulking
Should I use silicone or acrylic?
Use 100% silicone around a bath or shower. It stays flexible and waterproof in a joint that moves and gets wet daily. Acrylic caulk tools more easily and takes paint, so it suits dry trim and skirting, but it absorbs water and fails fast in a wet area.
Why does the mold keep coming back?
Mold returns when its roots were sealed in rather than removed, or when the joint stays damp. Strip the old bead fully, treat the surface to kill the mold, and let the joint dry before sealing. Afterward, wiping the joint dry and airing the room keeps it from taking hold again. The guide to remove bathroom mold goes further on the causes.
Can I just caulk over the old caulk?
No. New silicone does not bond to old silicone, so a bead laid over the top peels away and lets water straight through. The old material has to come out completely first, which is most of the work.
A joint that lasts
Strip the old bead right back, get the joint clean and dry, fill the bath before you seal, and give the silicone its full cure time. Those four steps are what separate a joint that lasts years from one that fails in months. If stripping the old bead left chips in the plaster or tile edge, the guide to fill holes and cracks covers the repair before you re-seal.
This guide is general information. Homes, materials, and local rules differ, so check product instructions and the regulations where you live. Read the full disclaimer.